Set up Synthetic Users for an Individual Campaign
Before following the steps in this guide, please read the previous guides:
This article will teach you how to configure Synthetic Users for a specific campaign in Google Ads and Meta. You can use this configuration to apply Synthetic Users for individual campaigns, conduct A/B tests, and better understand the effects and use of Synthetic User data on your advertising campaigns and marketing strategy.
How to Set Up Google Ads on JENTIS for an Individual Campaign
Go to Server Tag Manager on the JENTIS Platform and select the Google Ads Conversion Tag corresponding to your specific campaign. This tag will be the Original Tag.
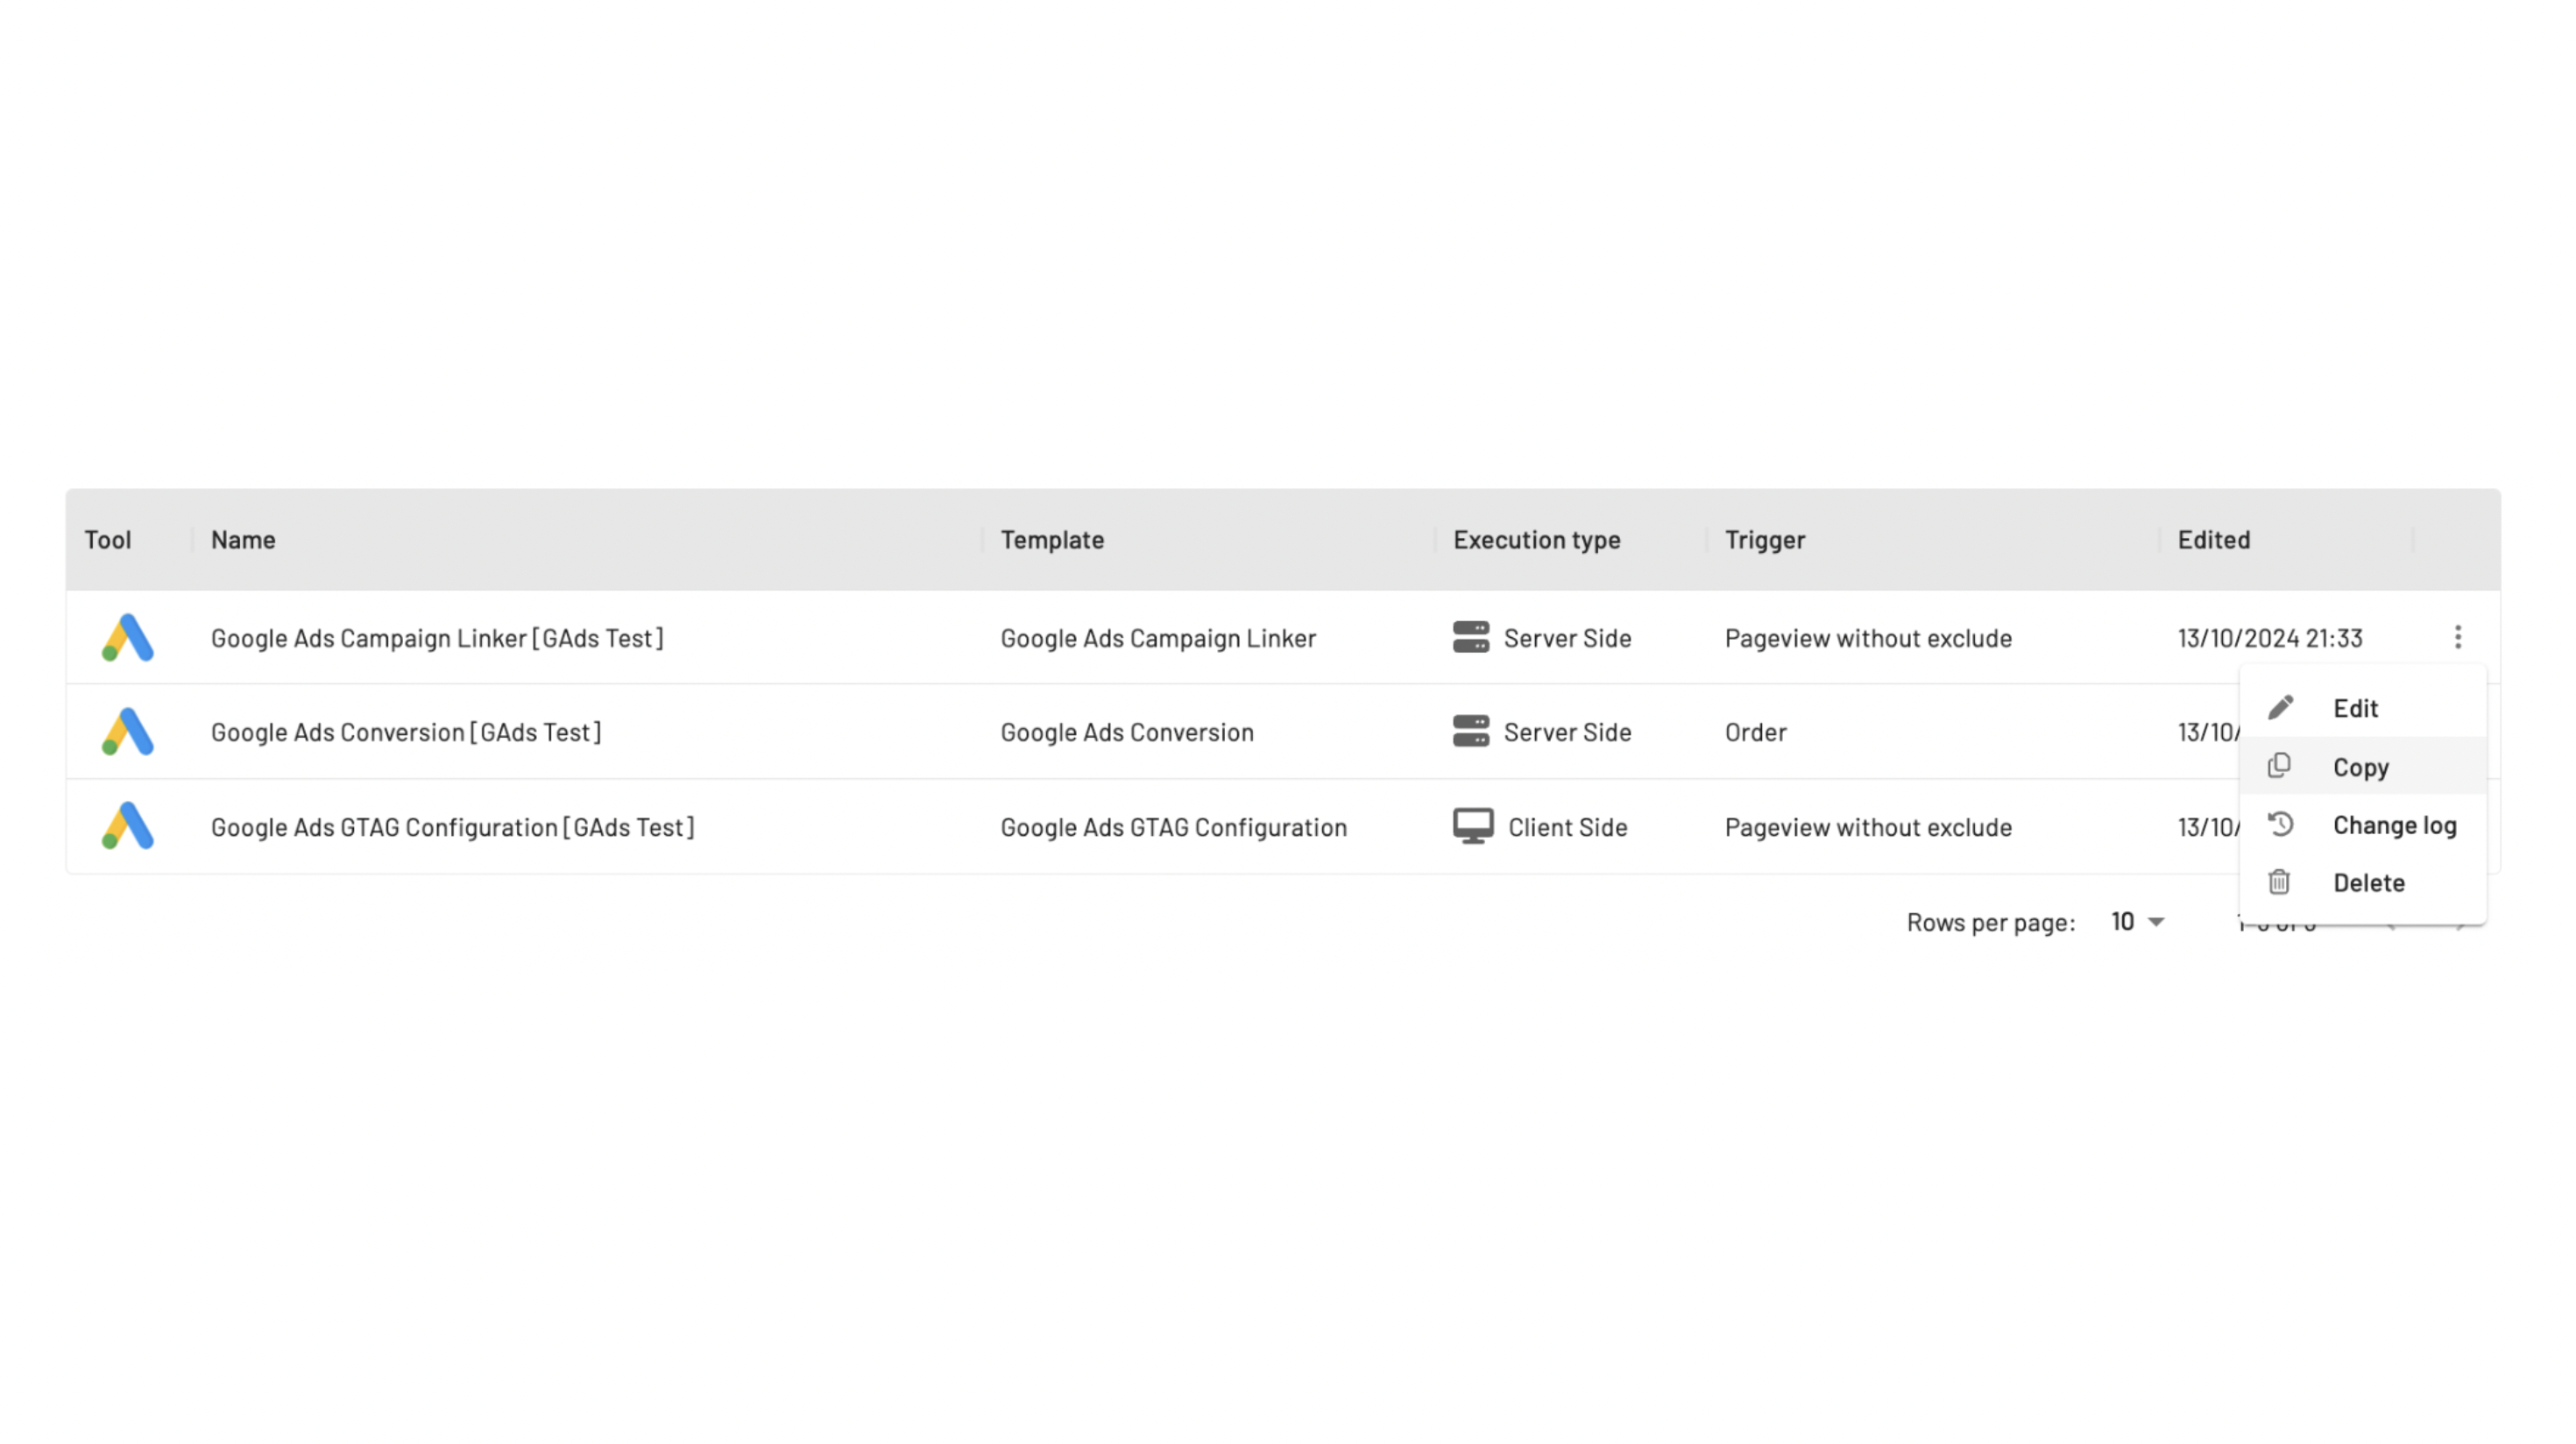
Duplicate this Google Ads Conversion Tag you chose in the previous step by clicking on Copy. The duplicated tag will be the Individual Tag for your Synthetic Users configuration.
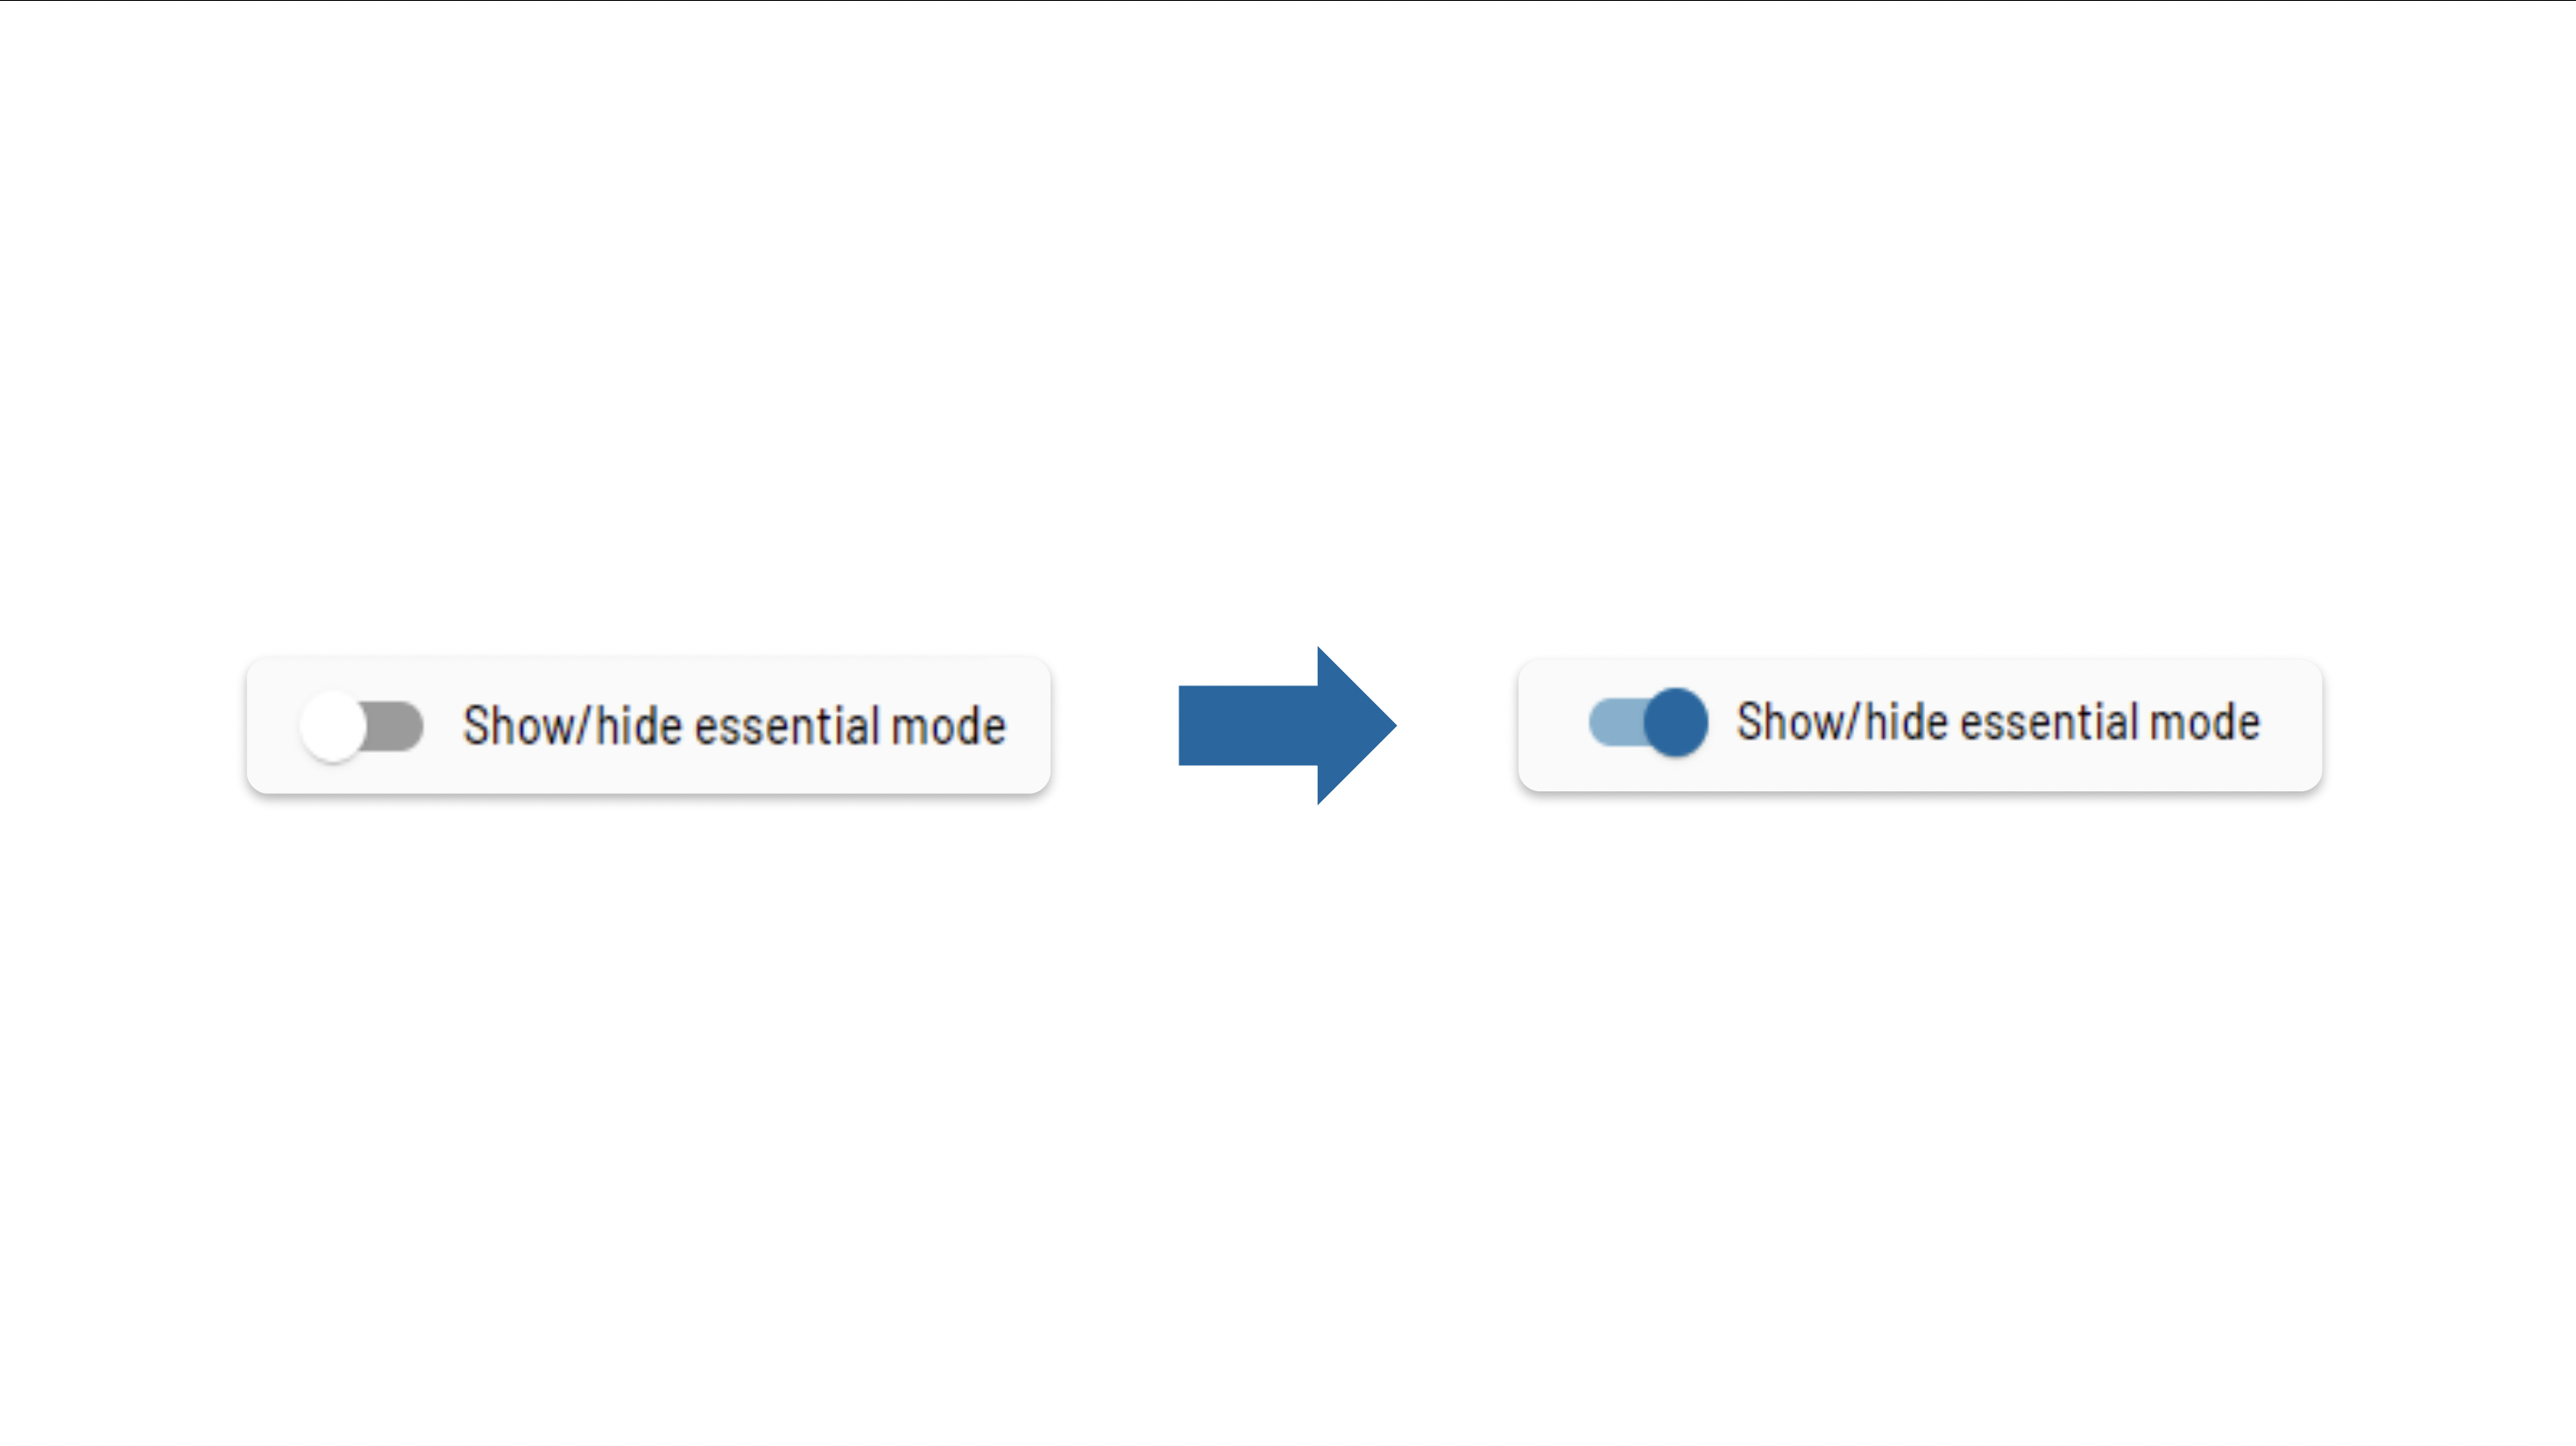
On the Individual Tag you just created, enable the Essential Mode toggle to display the Essential Mode placeholders.
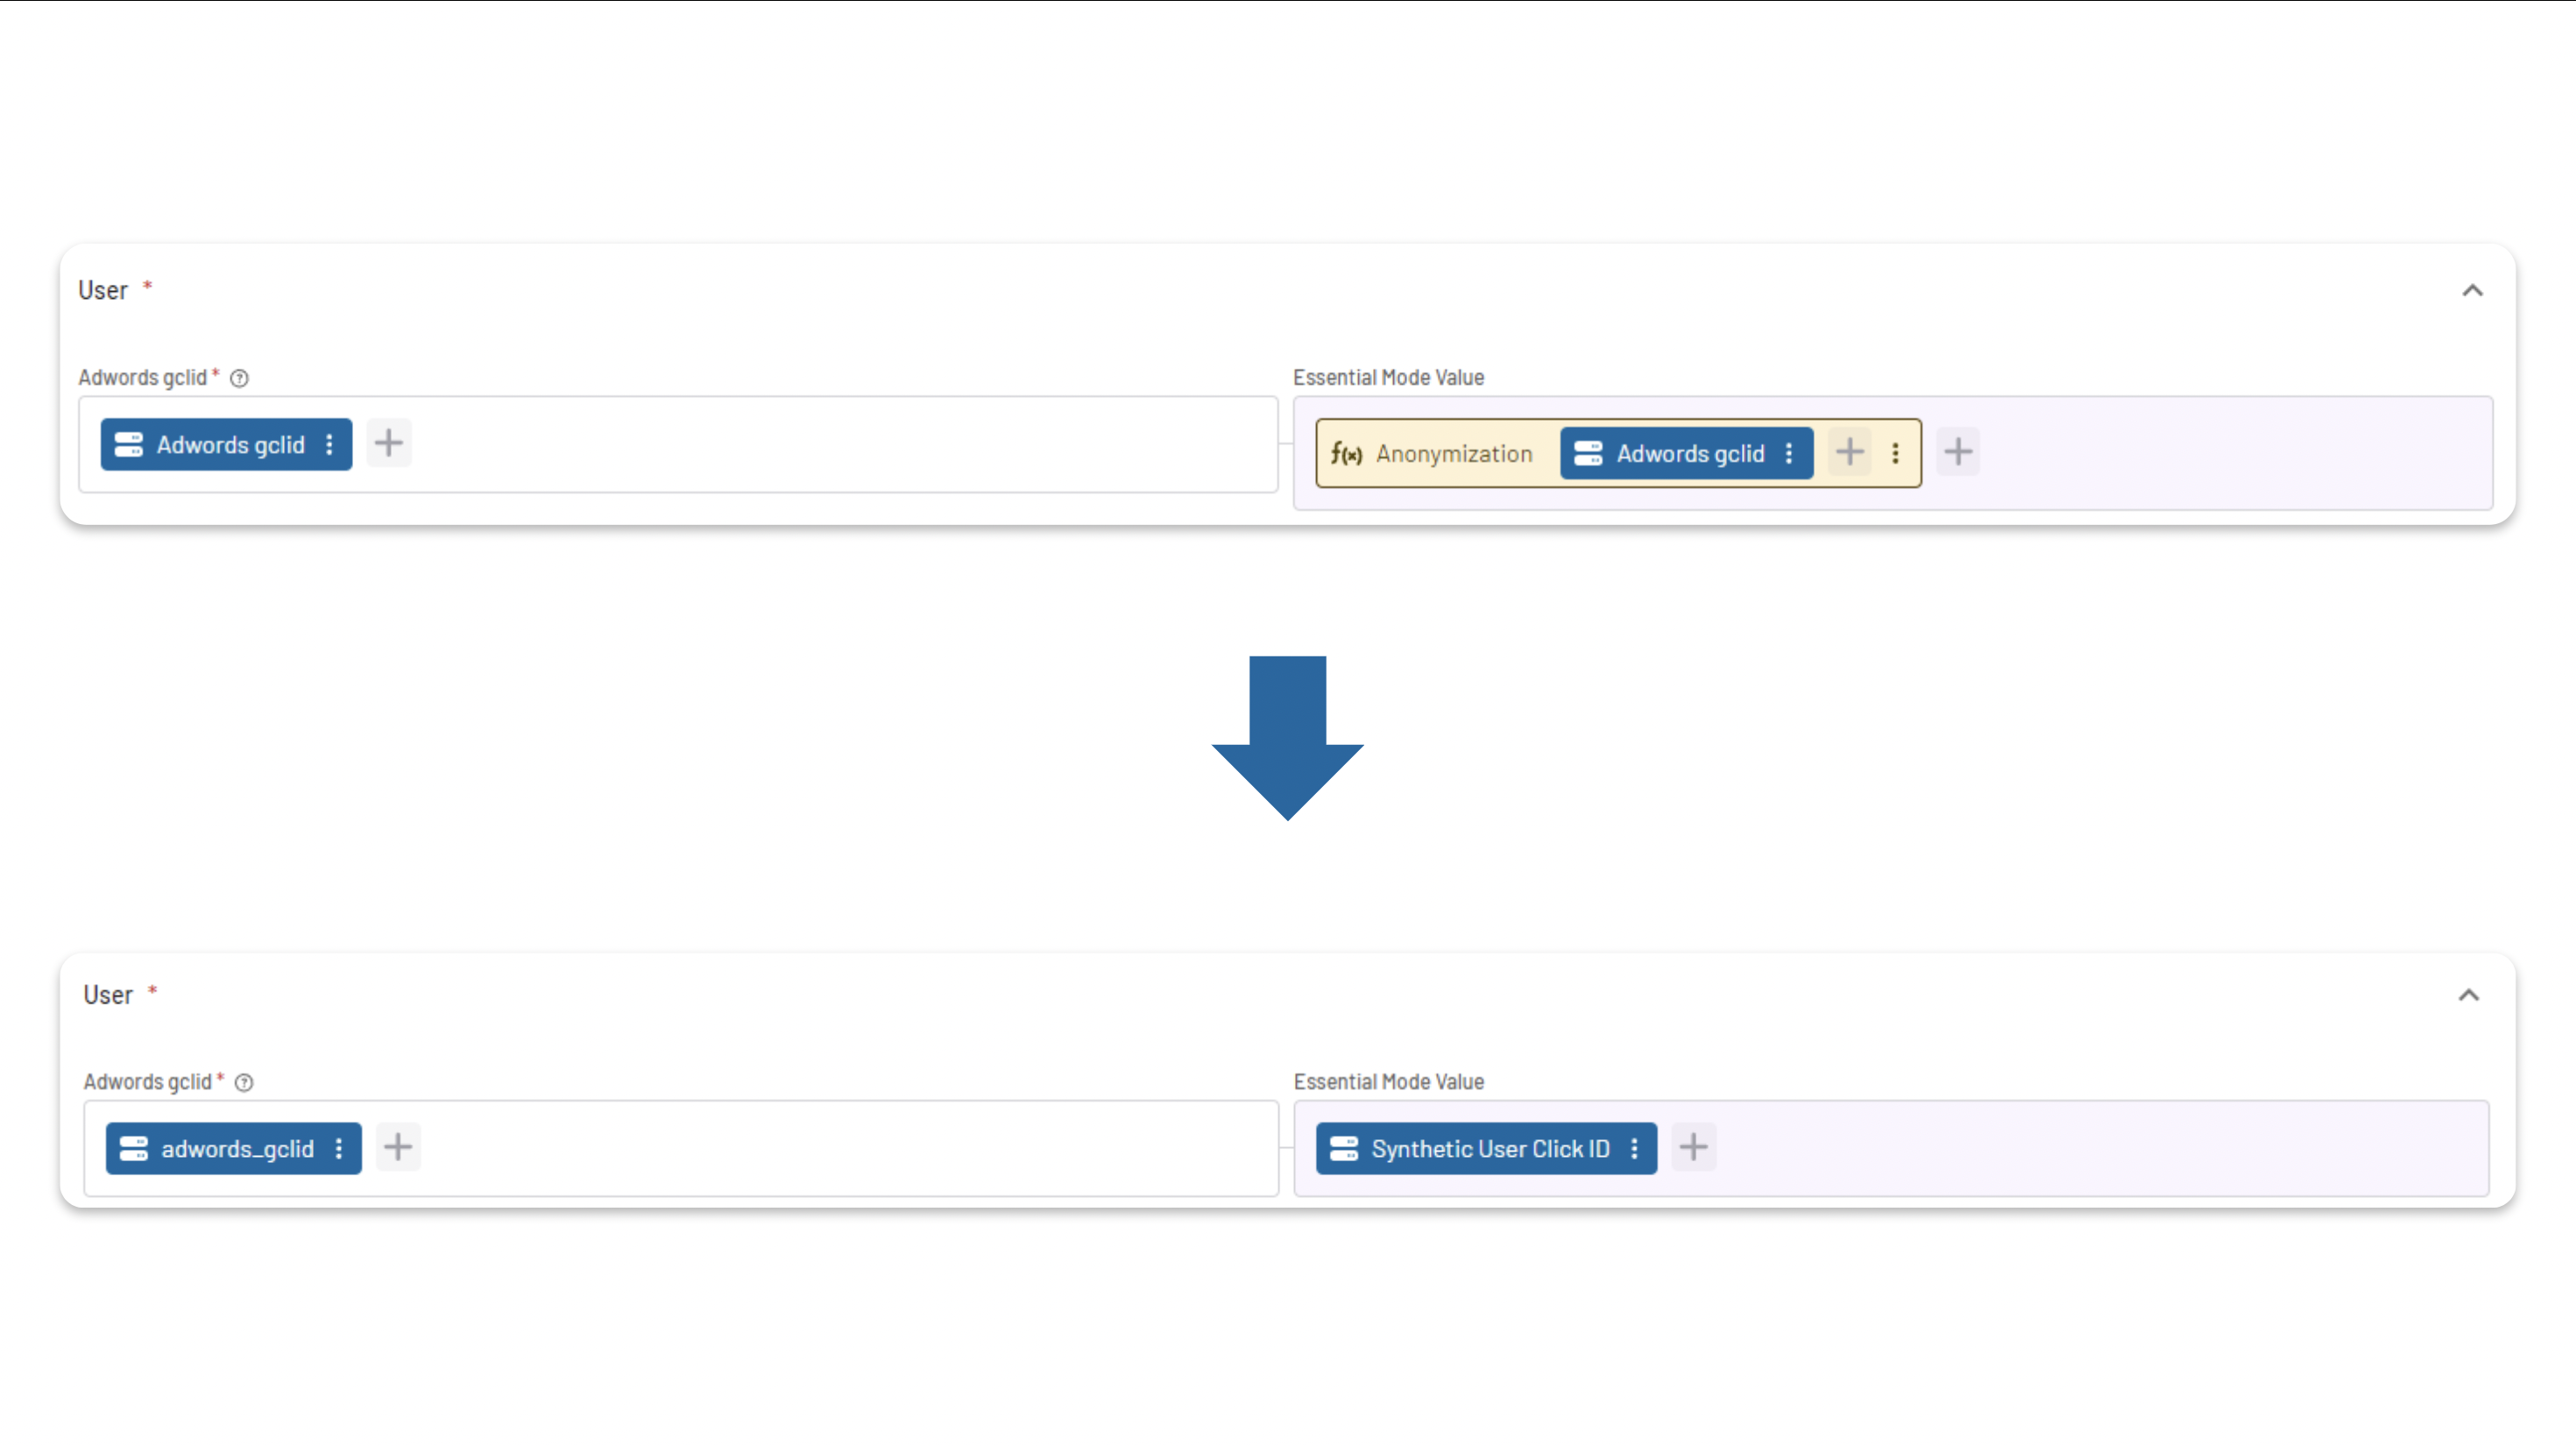
Change the placeholder named Adwords gclid to include the variable Synthetic User Click ID in the Essential Mode column.
Save the Individual Tag configuration.
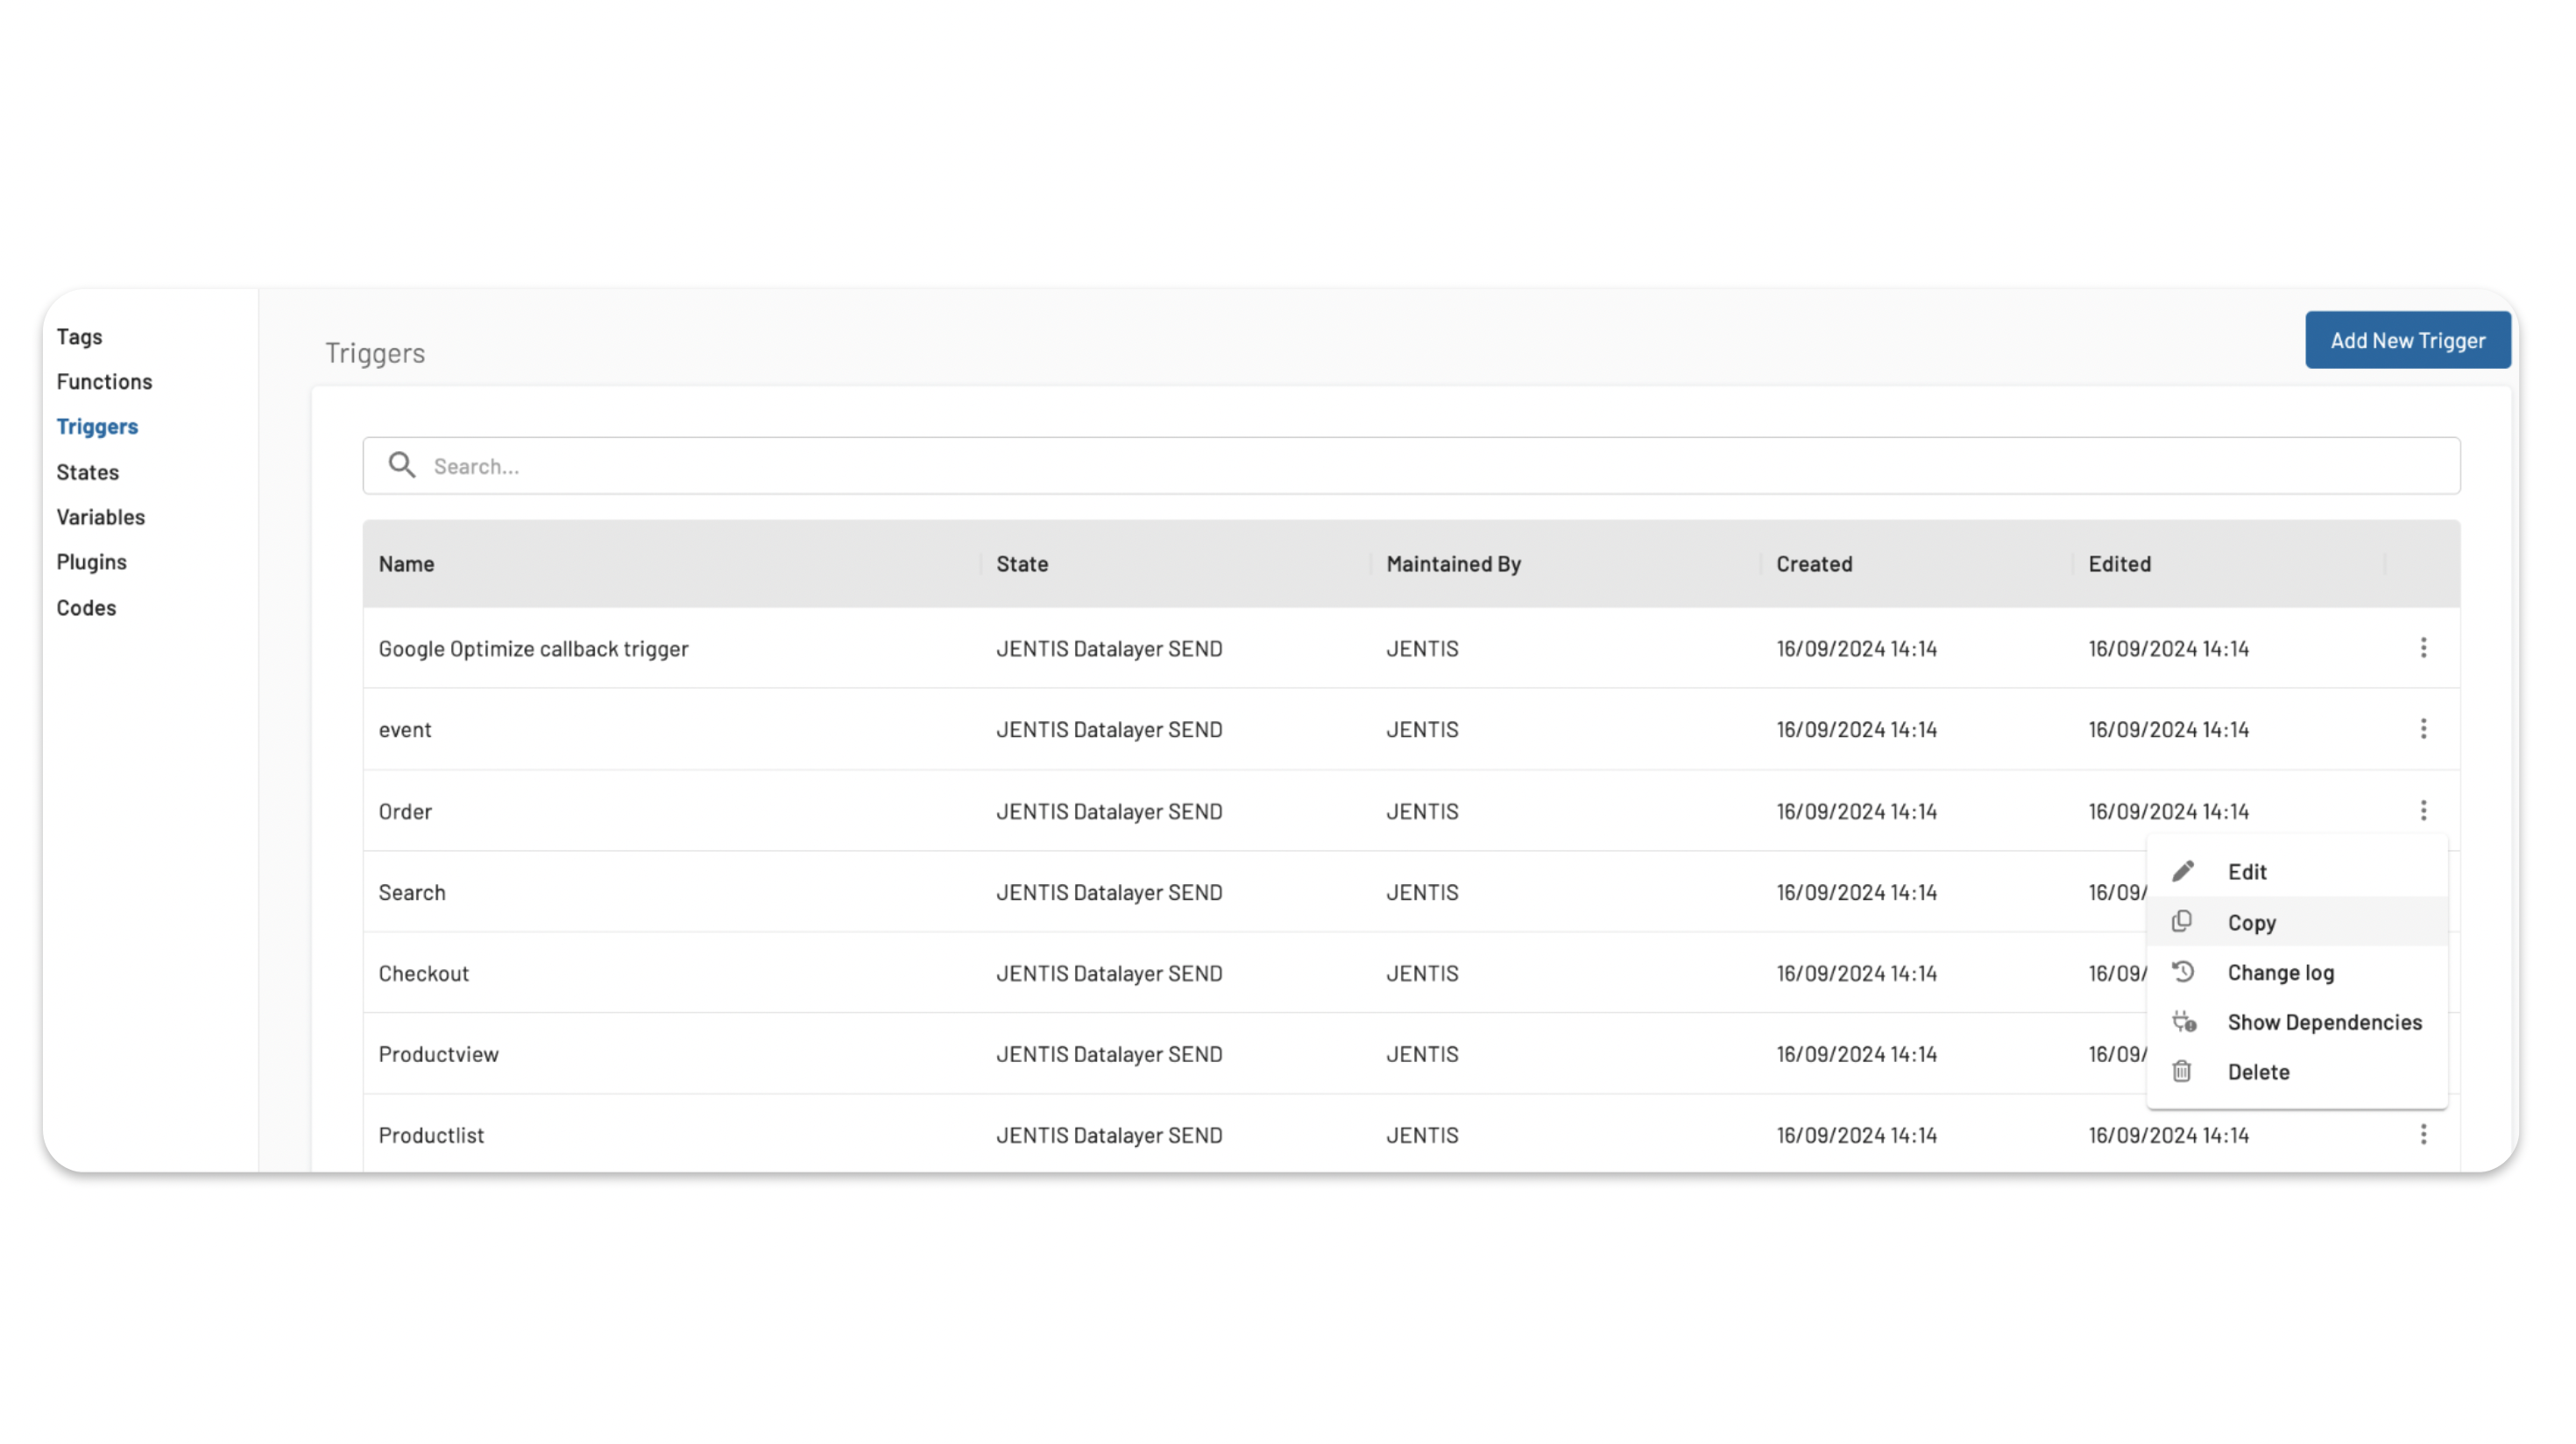
On the JENTIS Platform, go to Server Tag Manager and click on Triggers. Navigate to the corresponding trigger of the Original Tag and press the Copy button.
On the duplicated trigger, you must add a new Trigger Condition and limit the Individual Tag to execute only when the correct campaign is leading the conversion. To do this, press the AND button and add the following configuration:
Variable:
Synthetic Users - Last URL Parameter Value (adwords)Operator: We suggest
contains.Value: The value of the Campaign-Parameter for your specific campaign. For example, for
utm_campaign=summer, the value that should be included here issummer.
Save the new trigger configuration.
Return to the Individual Tag configuration on Server Tag Manager and change the trigger to the one created in these previous steps.

As a last step, open the Original Tag configuration and enable the Essential Mode toggle to see the Essential Mode placeholders. Delete the values in the placeholder Adwords gclid in the Essential Mode column and leave it empty.
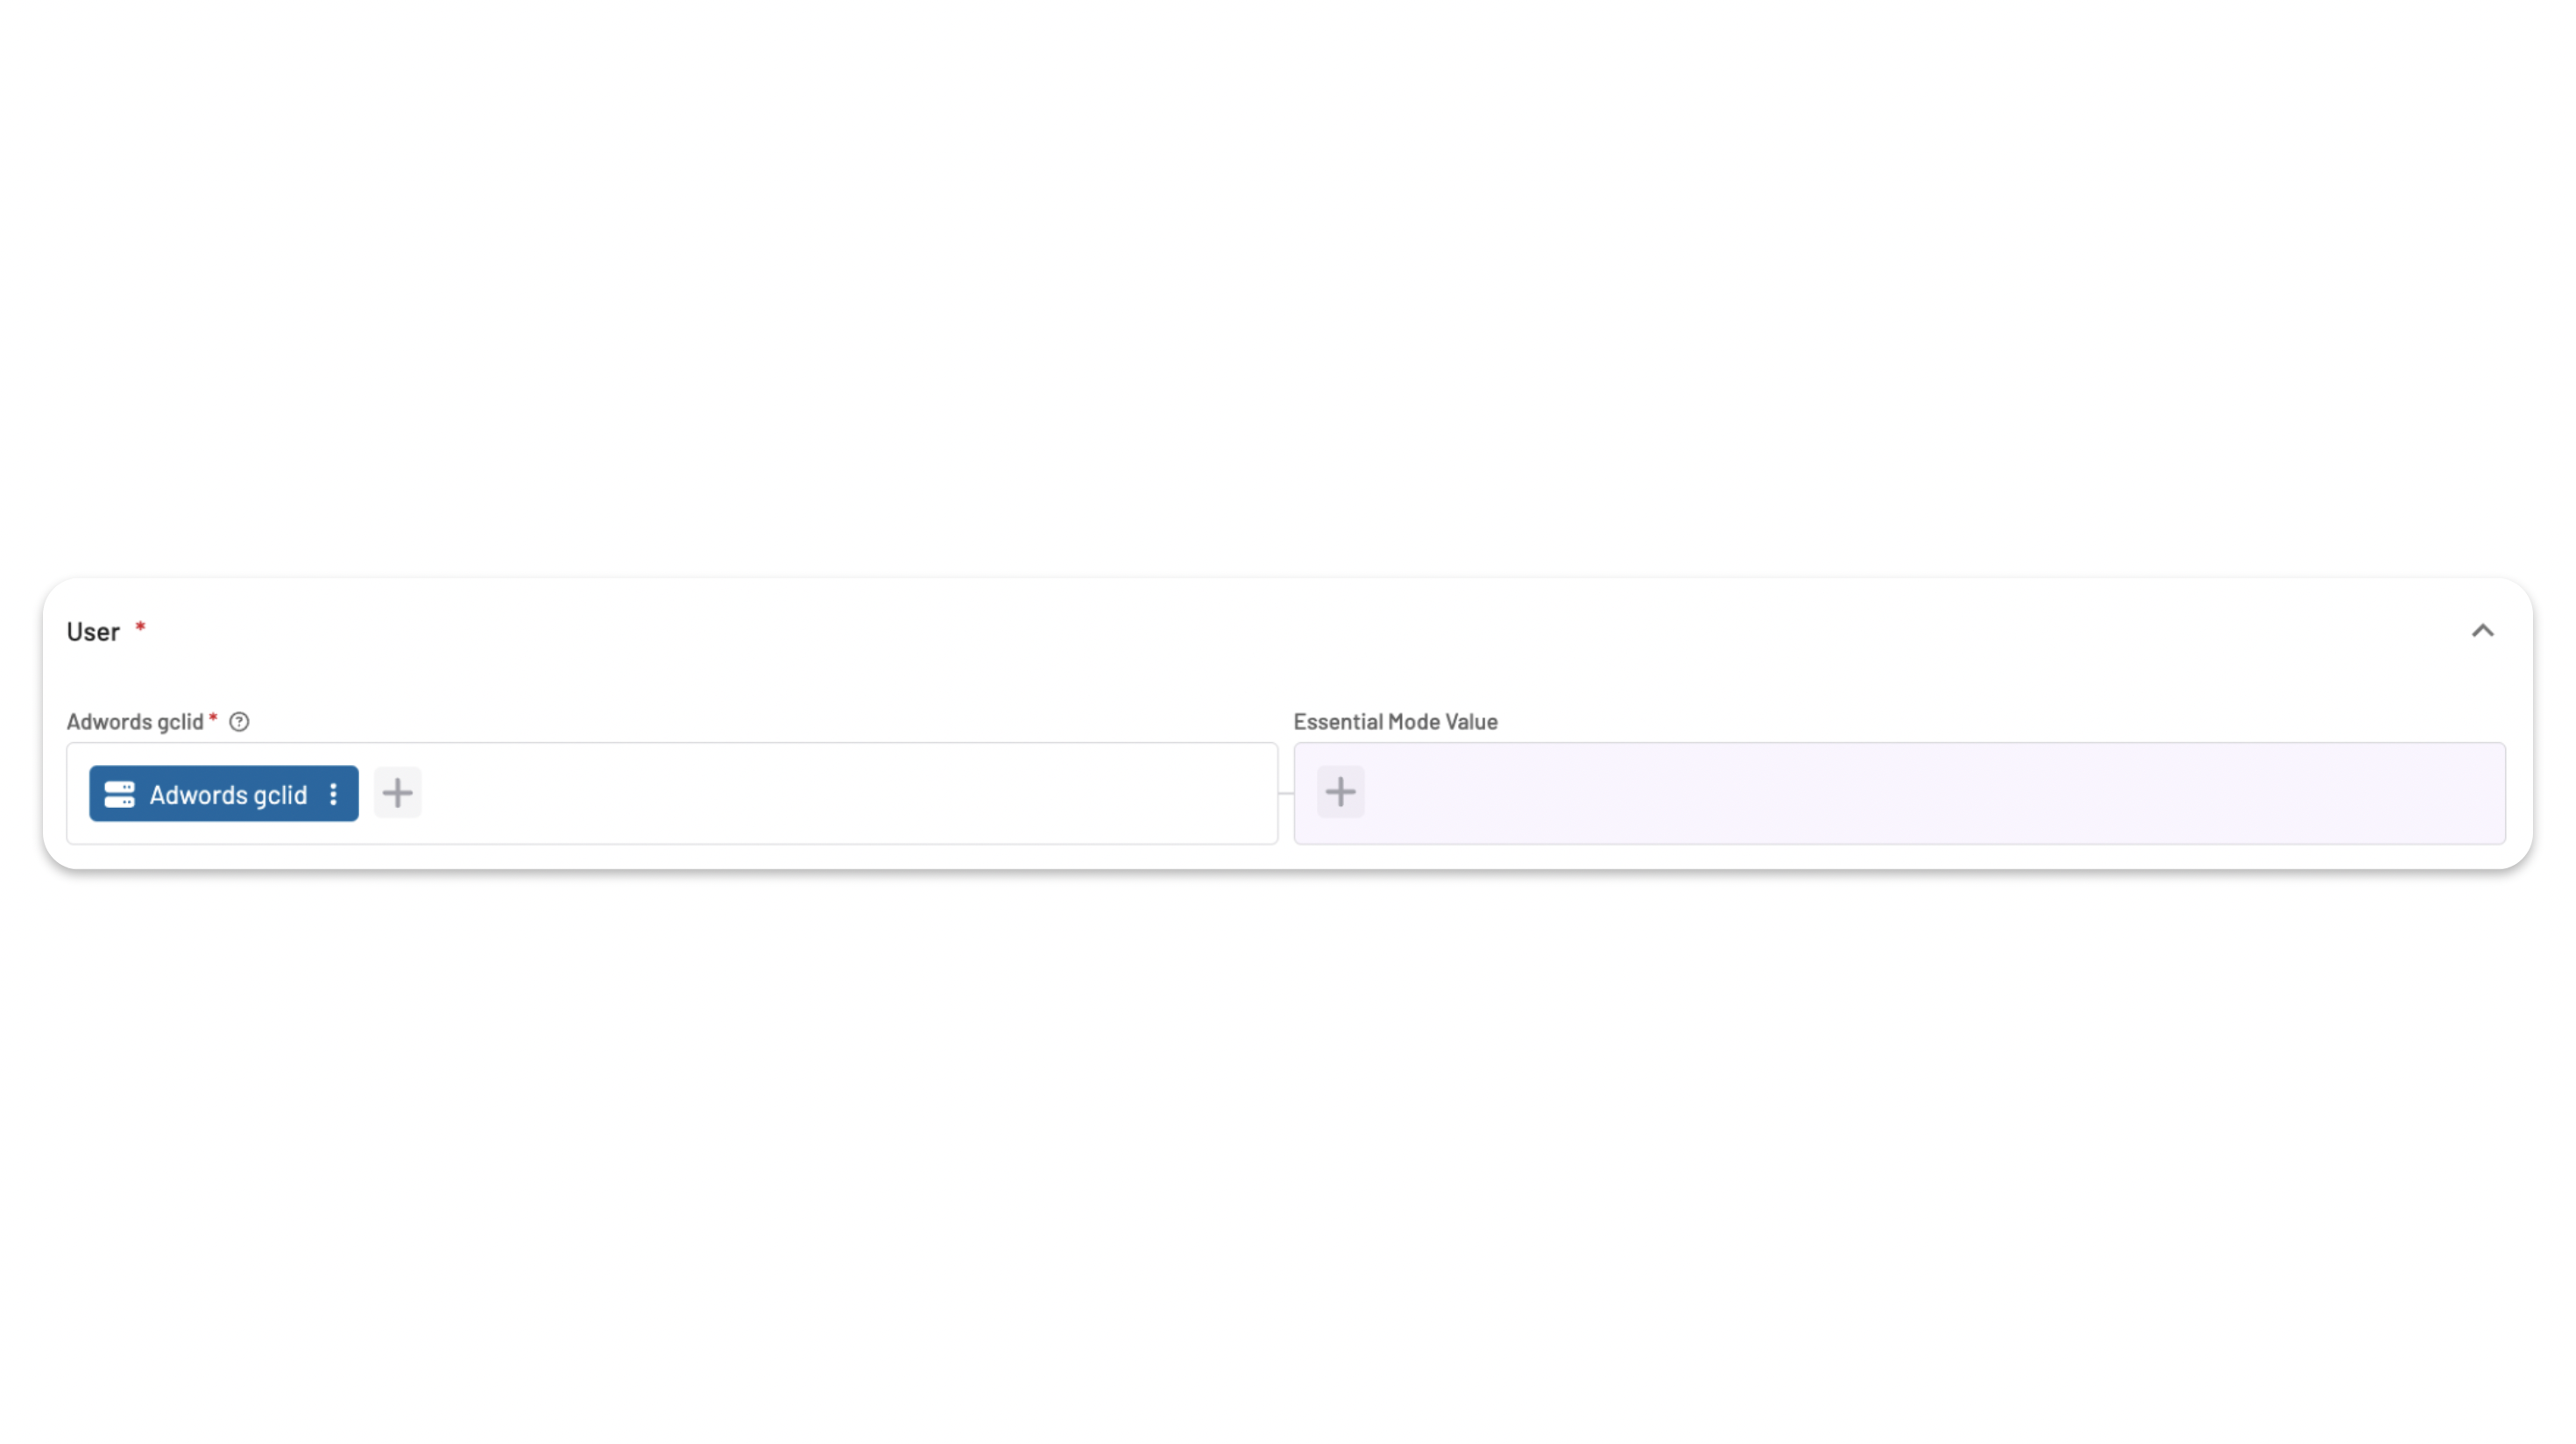
Save the tag. Now, the Synthetic Users for your individual campaign are set up and ready to go!
In case you have more than one conversion tag assigned to your campaign, repeat steps 1-11 for the rest of the tags.
How to Setup Meta on JENTIS for an Individual Campaign
Go to Server Tag Manager on the JENTIS Platform and select the Meta Conversion Tag corresponding to your specific campaign. This tag will be the Original Tag.
Duplicate this Meta Conversion Tag you chose in the previous step by clicking on Copy. The duplicated tag will be the Individual Tag for your Synthetic Users configuration.

On the Individual Tag you just created, enable the Essential Mode toggle to display the Essential Mode placeholders.

Change the placeholder named Facebook Click-ID [fbc] to include the variable Synthetic User Click ID in the Essential Mode column.
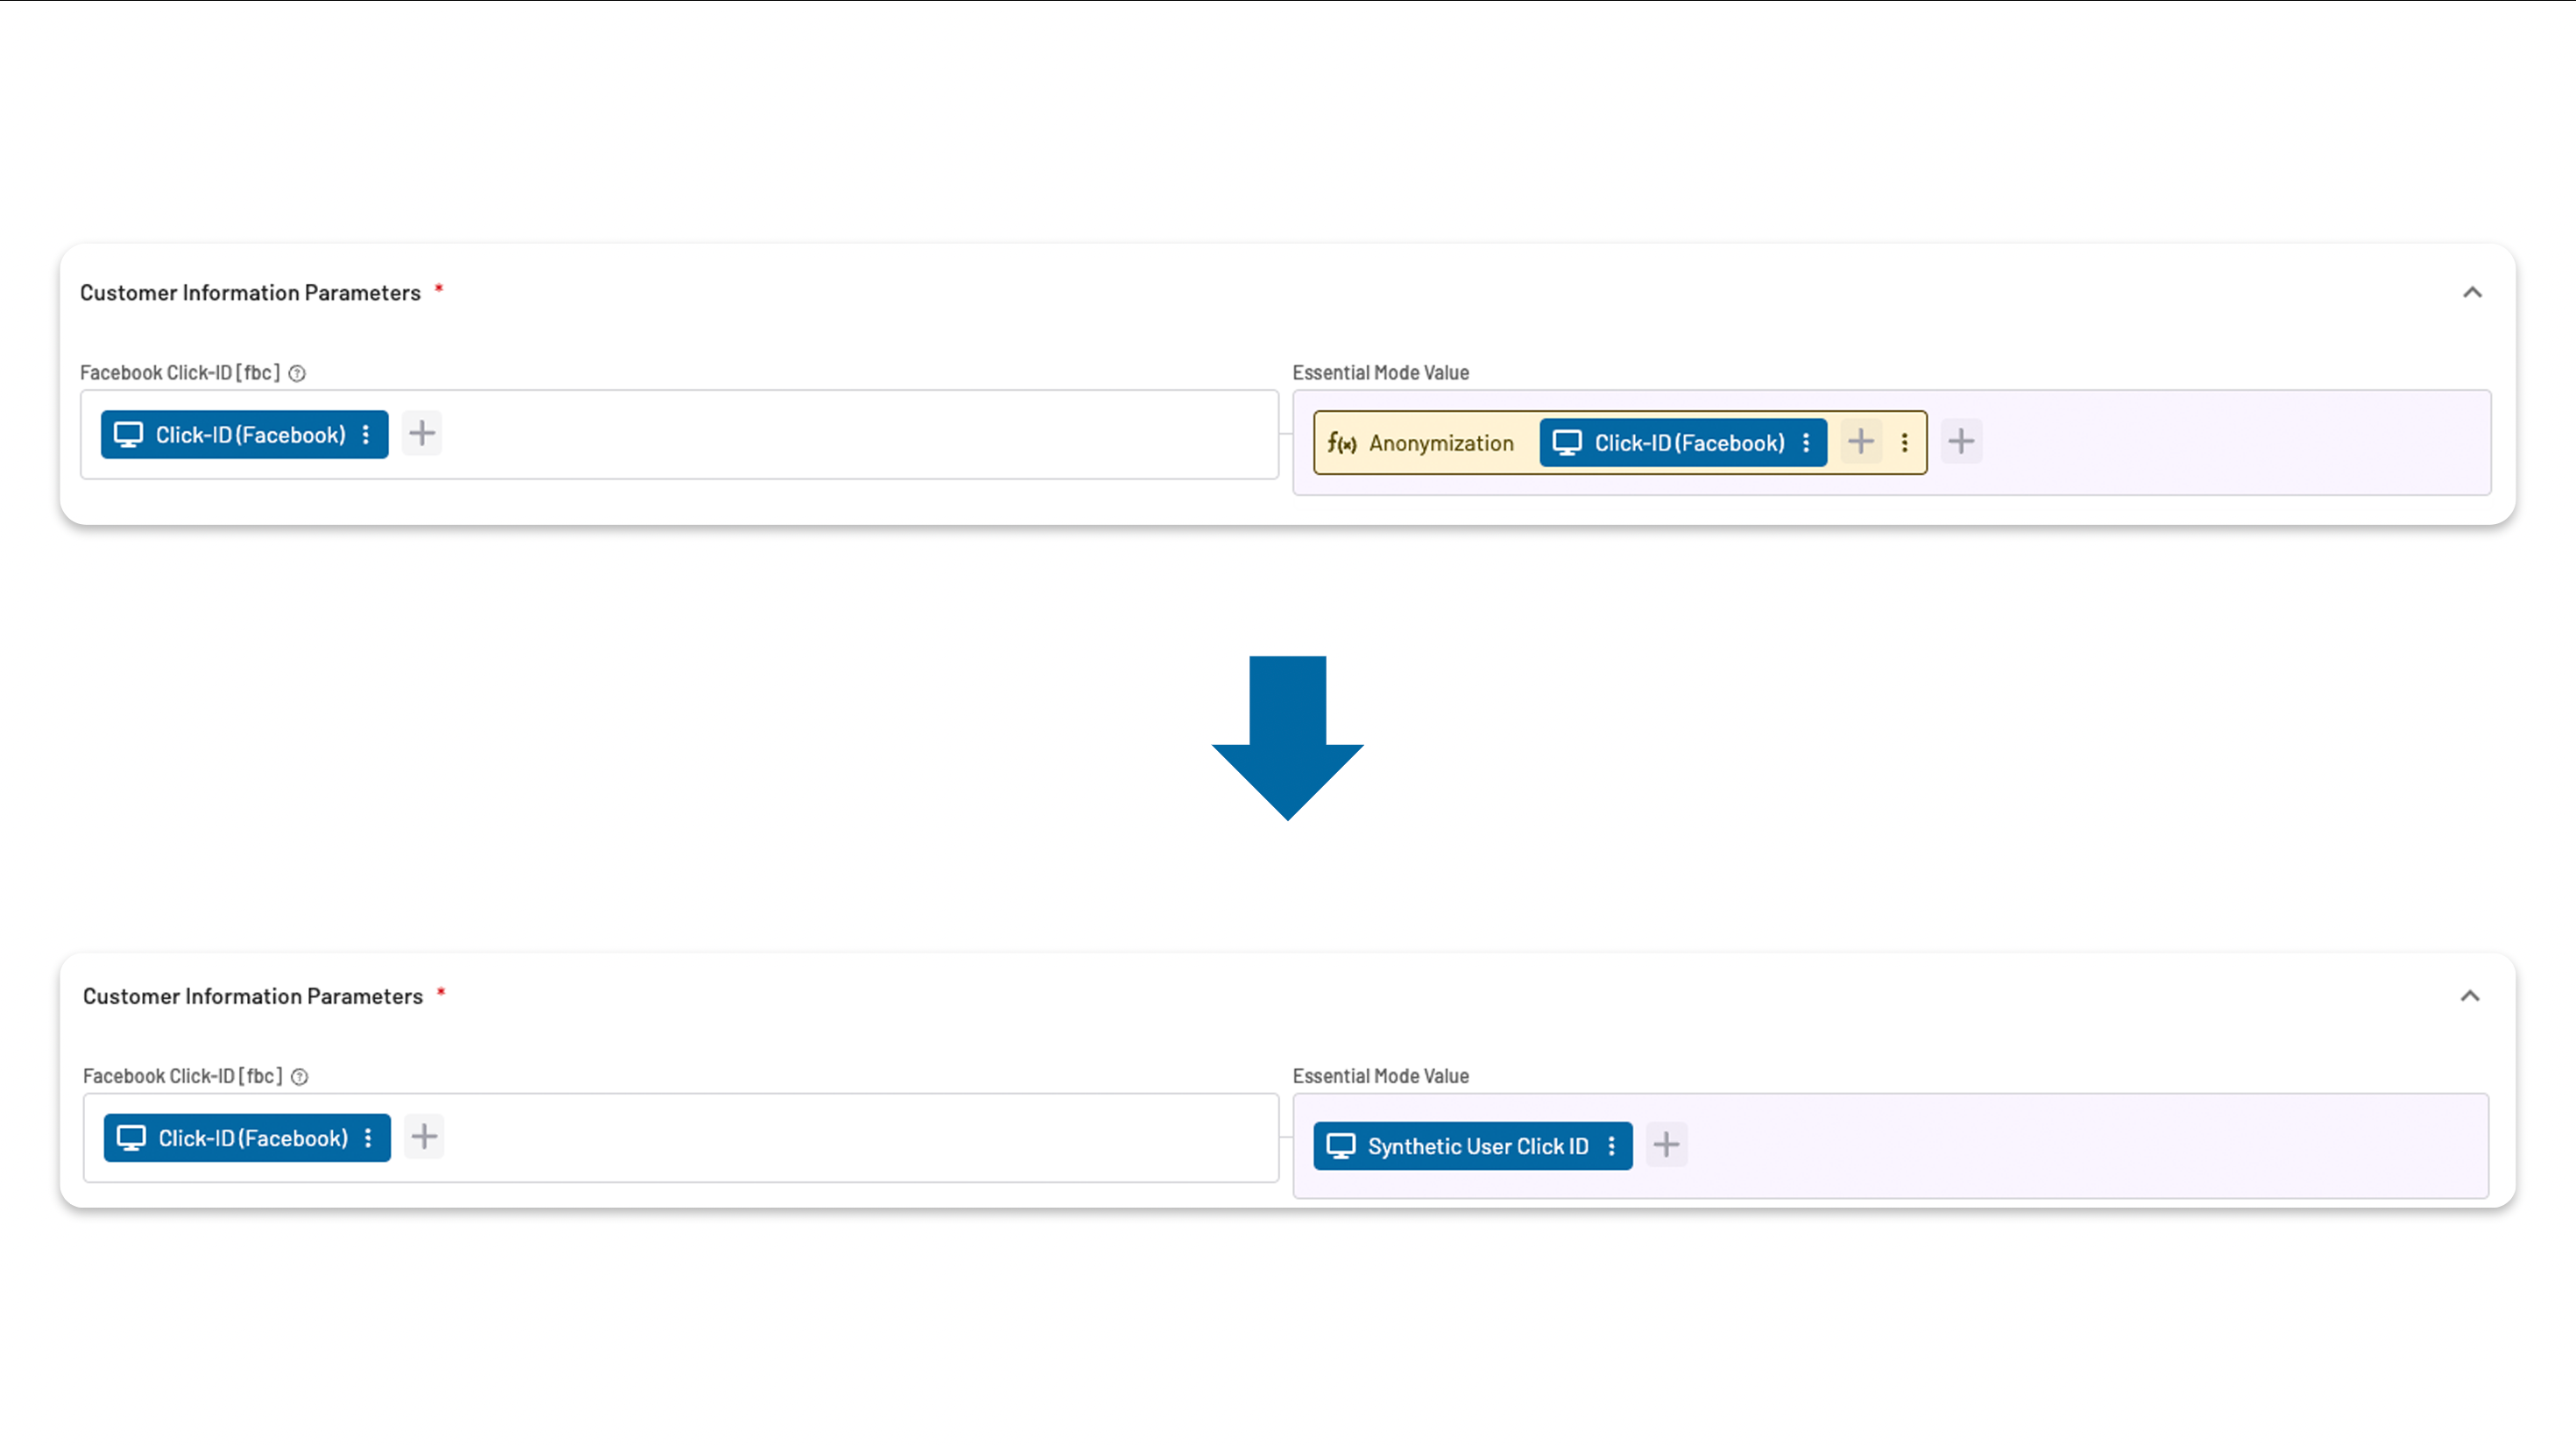
Save the Individual Tag configuration.
On the JENTIS Platform, go to Server Tag Manager and click on Triggers. Navigate to the corresponding trigger of the Original Tag and press the Copy button.

On the duplicated trigger, you must add a new Trigger Condition and limit the Individual Tag to execute only when the correct campaign is leading the conversion. To do this, press the AND button and add the following configuration:
Variable:
Synthetic Users - Last URL Parameter Value (meta).Operator: We suggest
contains.Value: The value of the Campaign-Parameter for your specific campaign. For example, for
utm_campaign=summer, the value that should be included here issummer.
Save the new trigger configuration.
Return to the Individual Tag configuration on Server Tag Manager and change the trigger to the one created in these previous steps.

As a last step, open the Original Tag configuration and enable the Essential Mode toggle to see the Essential Mode placeholders. Delete the values in the placeholder Facebook Click-ID [fbc] in the Essential Mode column and leave it empty.

Save the tag. Now, the Synthetic Users for your individual campaign are set up and ready to go!
In case you have more than one conversion tag assigned to your campaign, repeat steps 1-11 for the rest of the tags.
If you have any questions or suggestions, contact us through our Helpdesk.
