App Tracking: Troubleshoot
If you want to troubleshoot the JENTIS App SDK tracking, we provide an option to enable the Preview/Debug Monitor on the JENTIS Platform. This tool helps you better understand what is being tracked from your app to JENTIS and provides insights into which tags are executing or not executing and the reasons why.

Use the properties version and debugCode only in development environments and never in production. For production, leave these properties unset in the initialization configuration. Use the properties version and debugCode only in development environments and never in production. For production, don’t set any values in the initialization part for version and debugCode.
How to Start a Debug Session
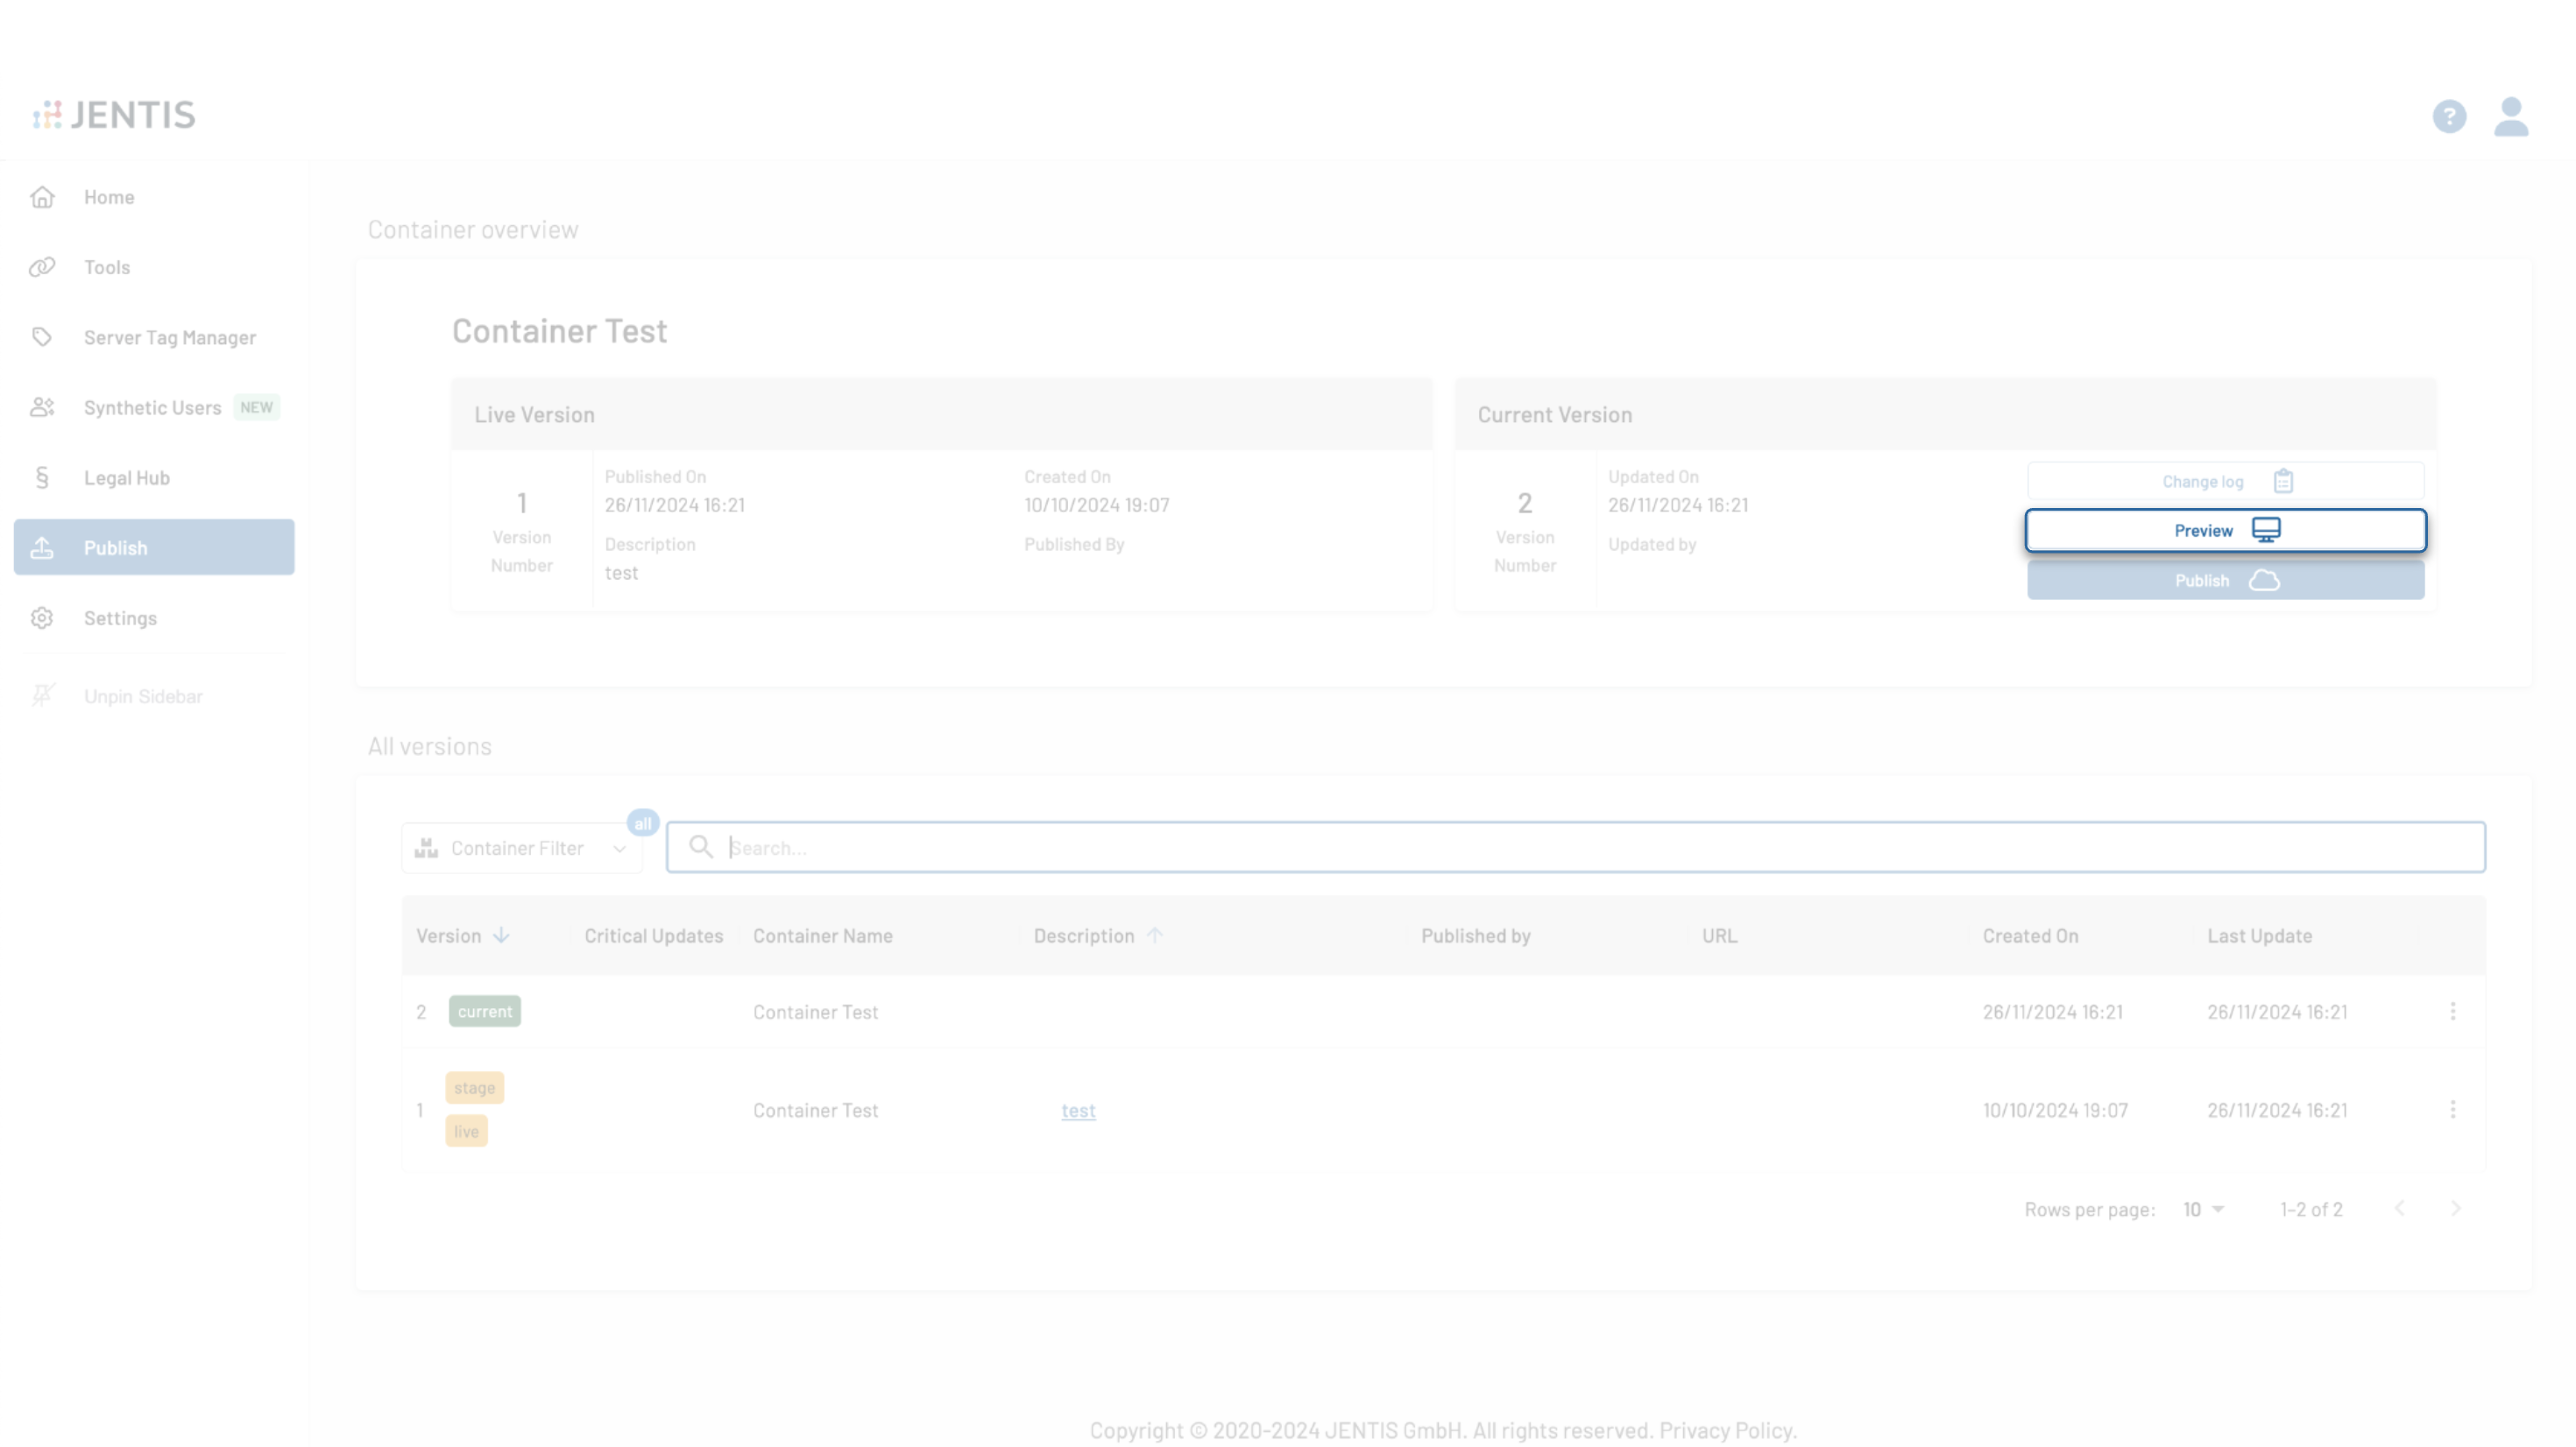
Log in to your JENTIS Account and navigate to Publish.

Select the container connected to your JENTIS SDK.
Click on the Preview button to generate a new Preview session.

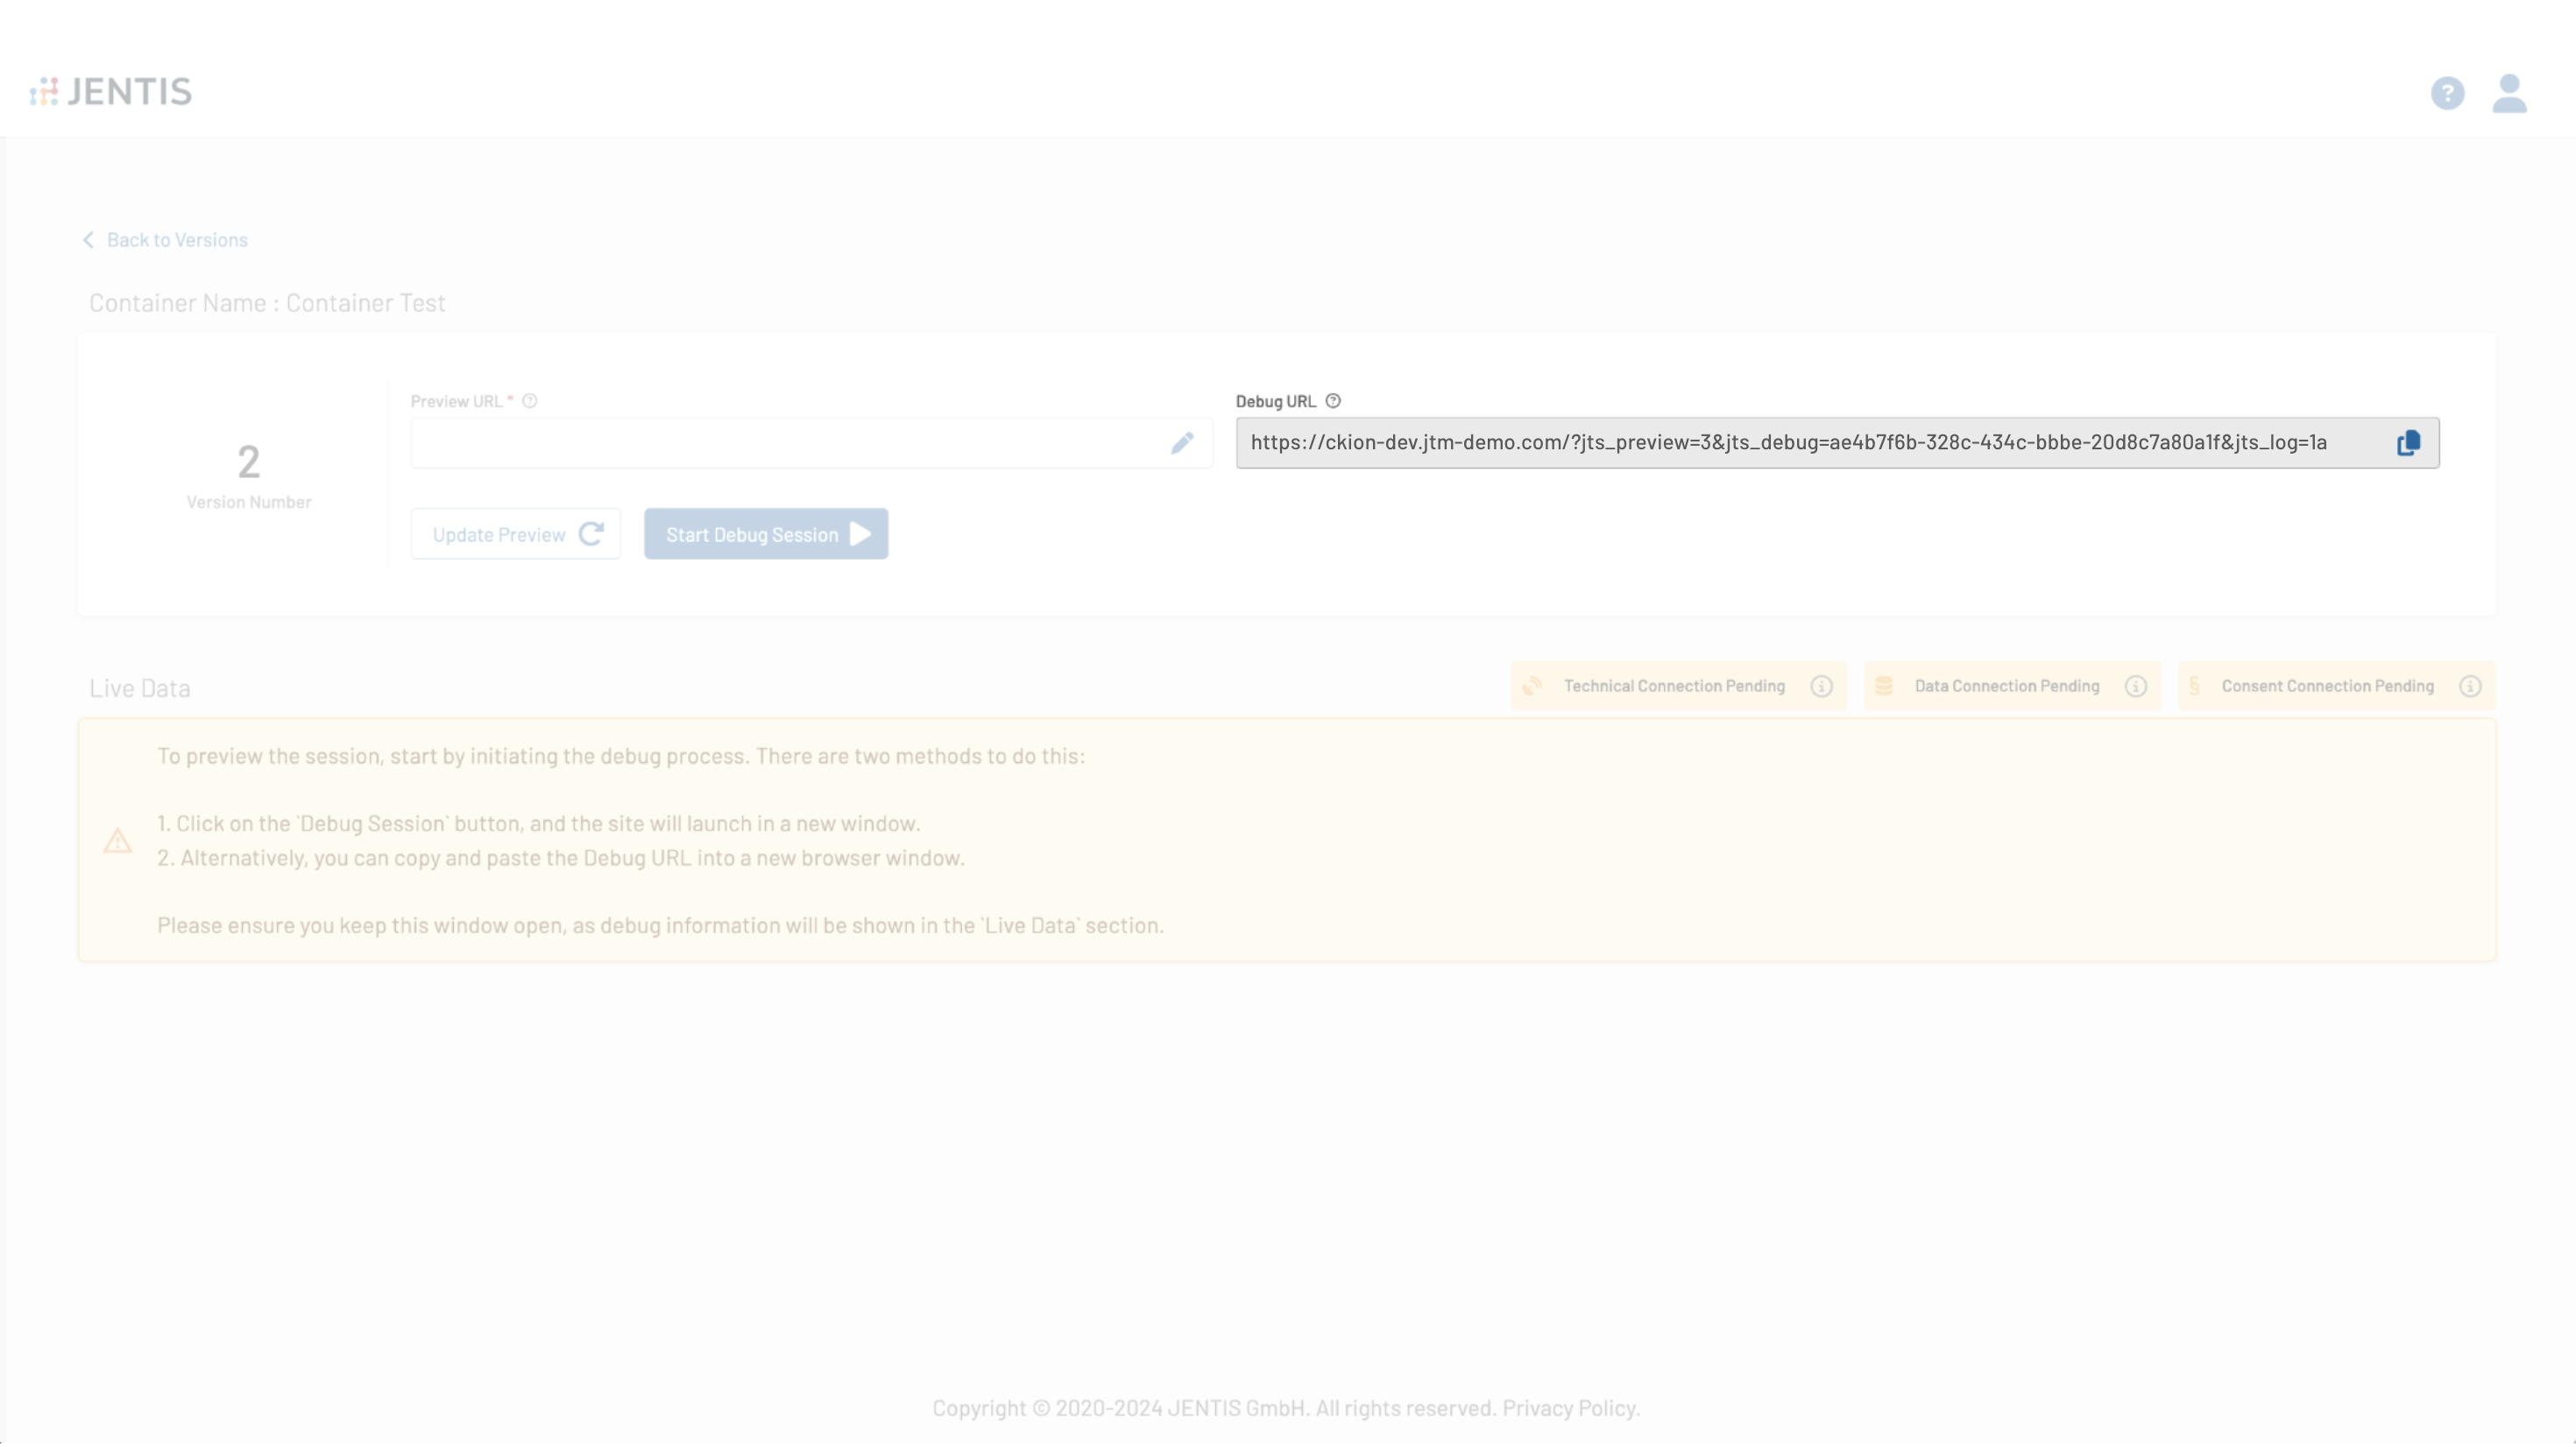
A new tab will open, displaying the Preview Monitor.
In the Preview Monitor, you will find the Debug URL, which looks similar to:
https://ckion-dev.jtm-demo.com/?jts_preview=3&jts_debug=ae4b7f6b-328c-434c-bbbe-20d8c7a80a1f&jts_log=1

From this URL, you can extract the following values:
Version: Passed as the value of the
jts_previewparameter (e.g.,3).Debug Code: Passed as the value of the
jts_debugparameter (e.g.,ae4b7f6b-328c-434c-bbbe-20d8c7a80a1f).
Use these values to initialize the JENTIS SDK by assigning them to the version and debugCode properties. For more information, read App Tracking: Getting Started | Initialize-the-JENTIS-App-SDK.
Read next
App Tracking: Consent Handling
If you have any questions or suggestions, contact us through our Helpdesk.
