How to implement the Essential Mode
What is the problem?
The Essential Mode is one of the main reasons to have JENTIS. In this article we will show you how to implement it.
What is the Solution?
The implementation
Find the tool in the DCP.
Change the modus on the tool.
Test to make sure it works correctly with your CMP.
Edit the details of the tool if required.
Example with Google Analytics 4
Find the tool in the DCP
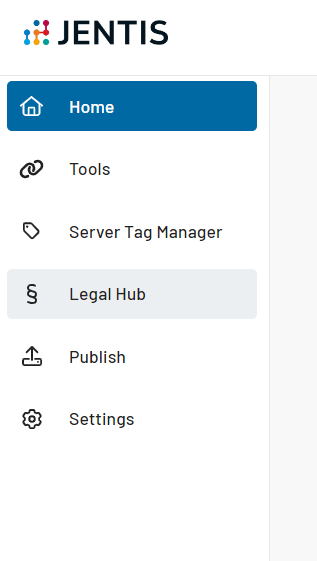
Open JENTIS and navigate to the “Legal Hub” and then to the “Vendors” menu point.
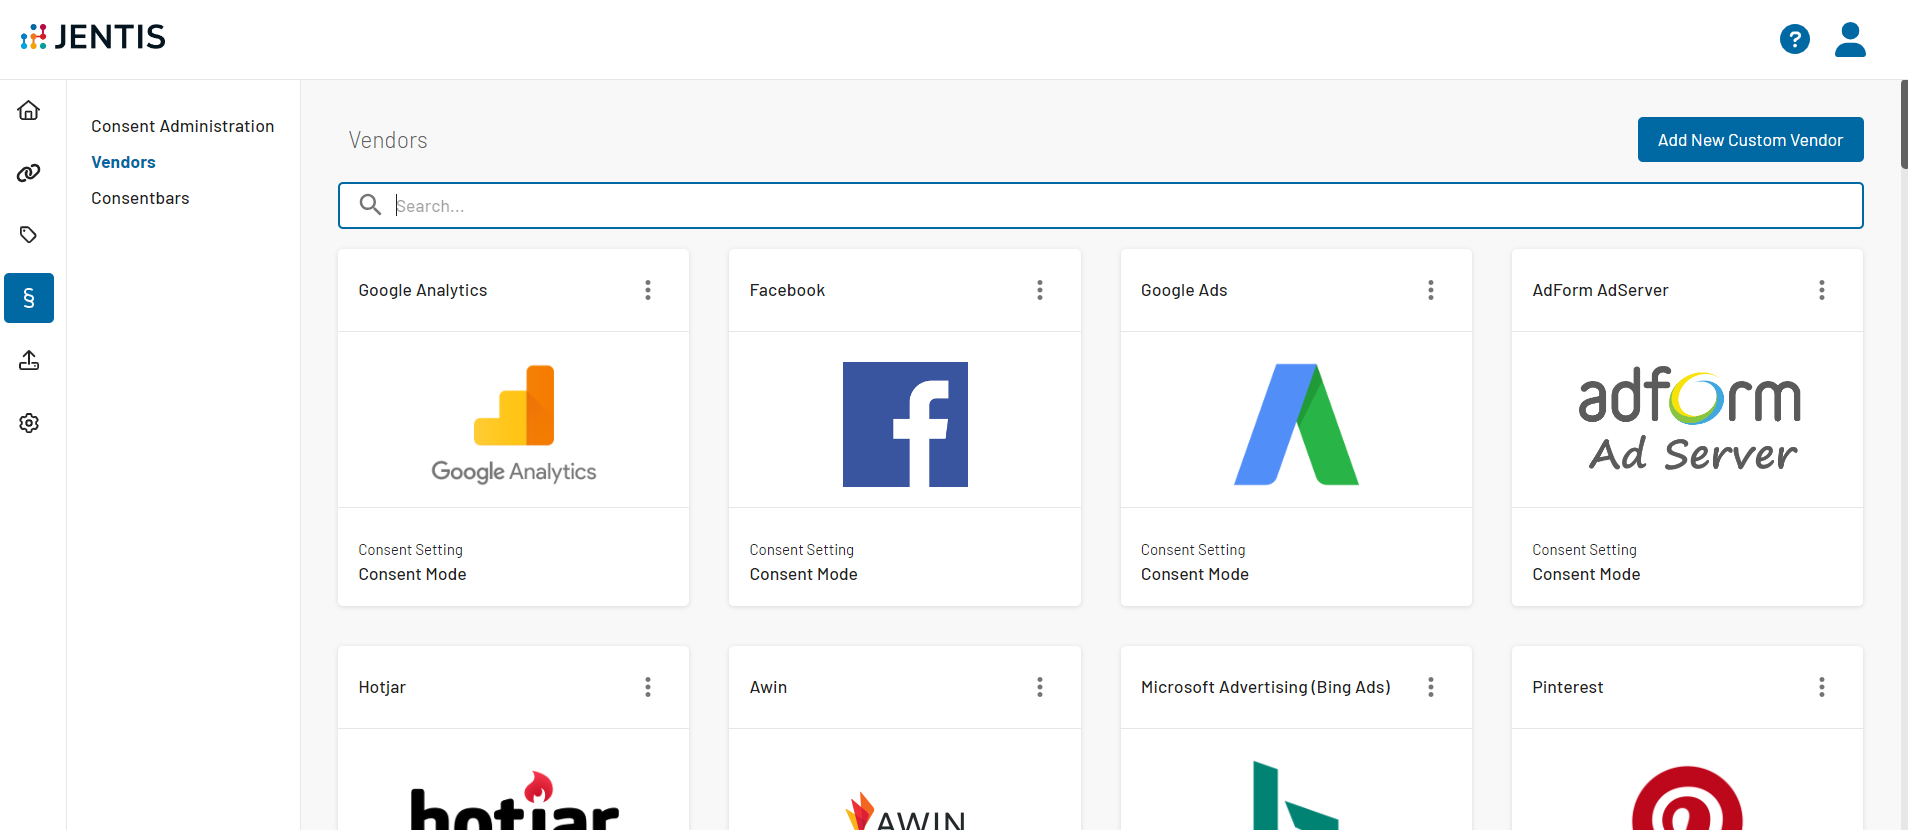
Open the Vendors menu and select the tool you want to change the settings for by clicking on it.
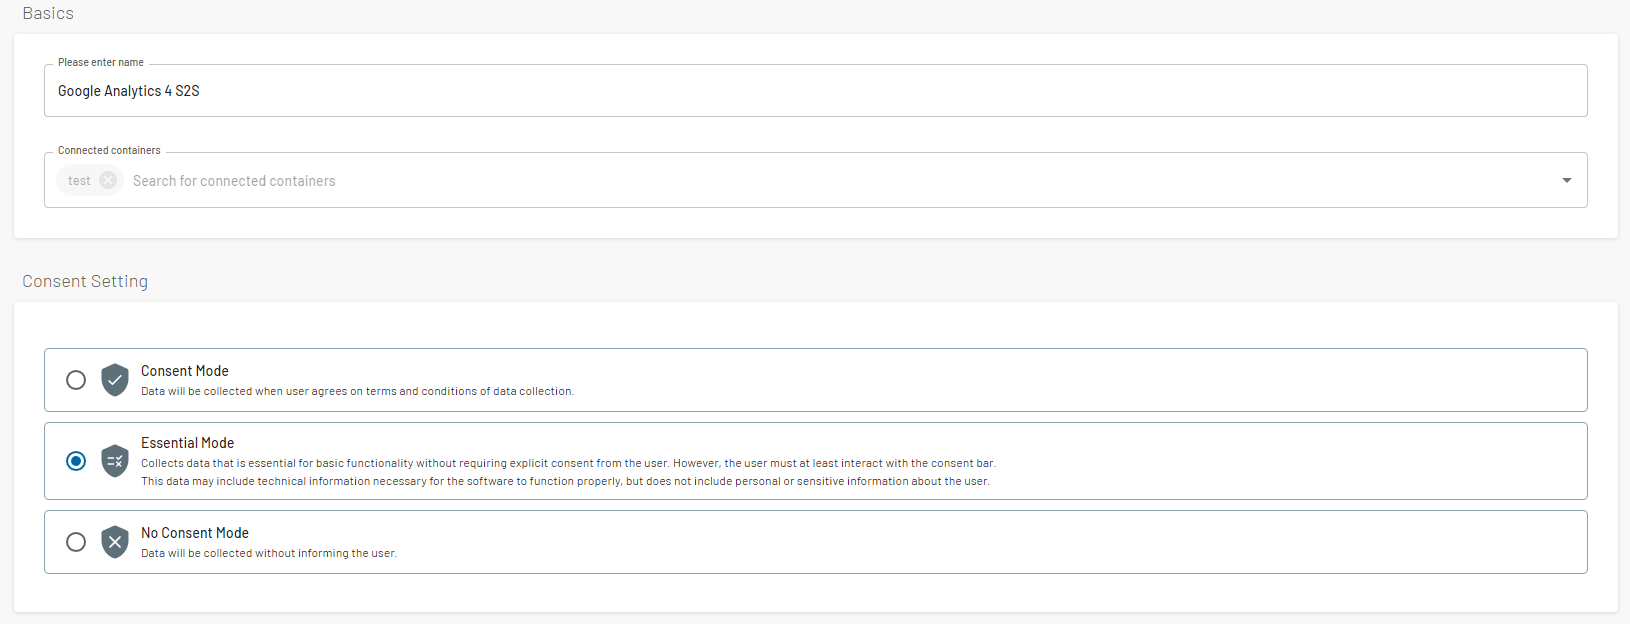
Change the modus on the tool
Activate Essential Mode as shown below.
Test to make sure it works correctly with your CMP.
To check if the integration with your CMP works correctly, you can follow the steps described in this article: How to test if CMP is correctly linked to DCP
Edit the details of the tool if required
After you saved the configuration, you can navigate to the “Server Tag Manager” and then the “Tags” menu point, to find the tags installed for that tool. If you click on the edit tag, you will see the tag configuration page. Here you will see a toggle on the right that says “Show/hide essential mode”:
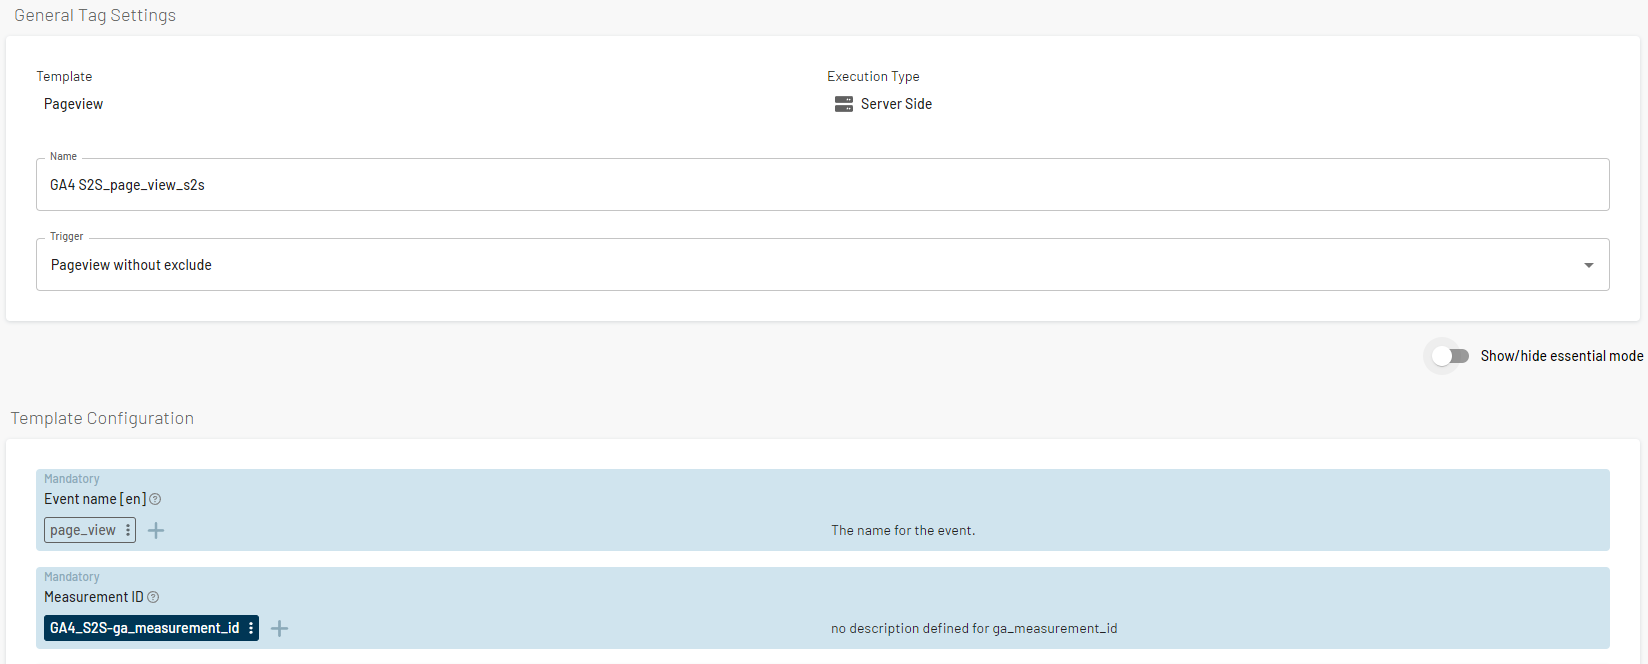
Once enabled, you can change the configuration for the essential mode case:
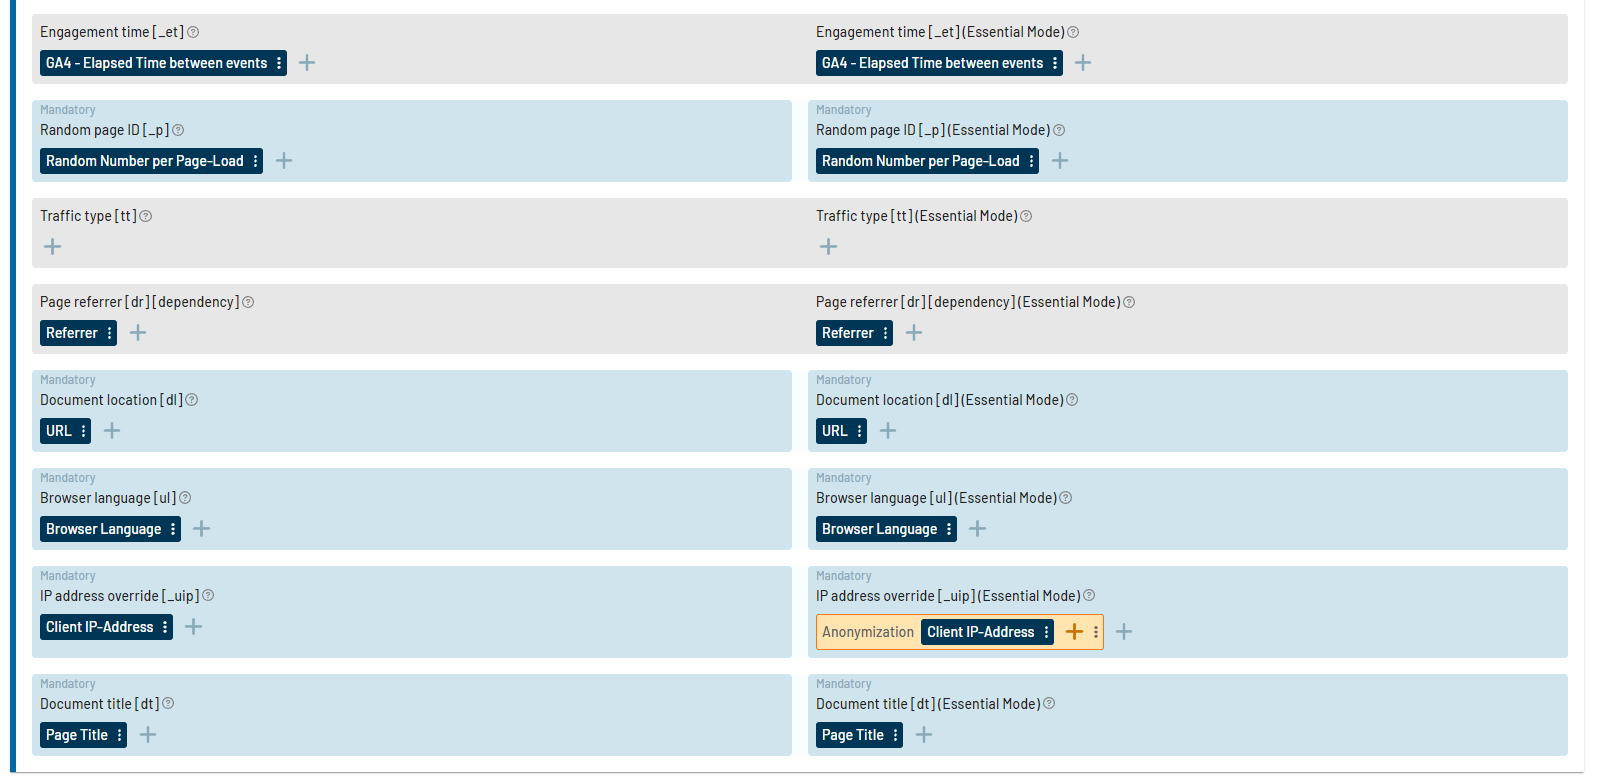
Please be aware, that this toggle is only for visibility of the second column to configure the Tag. The activation of essential mode is for every Tag of the tool - even if the toggle in the Tag is deactivated.
As shown, activating the Essential Mode in JENTIS is quite easy. Find and select each tool you want to change the modus on, test to make sure it’s working, and fill out the details where required.
