Track a Google Analytics Event with JENTIS push call
Tracking events on interactions is a common use case with website performance optimization. Most website owners want to know which elements users interacted with. So the website can be optimized in regards of user experience. With JENTIS you can track any kind of event in a structured manner. Here is a short guide how to push data to JENTIS, as soon as an event occurs, and how to forward this information to Google Analytics as an event.
Prerequisites
Let's assume there is a callback function that will submit data as soon as an event happens. This event will be forwarded to JENTIS (using the JENTIS Data Layer and _jts.push() as the application interface). Events in Google Analytics are defined by three elements: event category, action and label. This is the desired setup:
event category: Navigation
event action: Click
event Label: target-url
Website Event Setup
In this guide we will use a callback function that is activated onClick() of a HTML element. That could look like something like this:
<a title="navigation-link" href="/" onClick="..."> Link Text</a>Now the actual function that sits in the onClick element of this tag will submit data to Jentis following the _jts.push API notation: Event and Interaction Tracking Reference
_jts.push({
    "track"        :    "event",
    "group"        :    "Navigation",
    "name"         :    "Click",
    "value"        :    "/"
});
Now the values of the JENTIS internal data model are used here to meet our goals. Where “group” will later be translated to the event category, name will be event action and value is the target-url and event label in Google Analytics.
Creating a Google Analytics Event Tag
When a Google Analytics tool instance is installed in a JTM account it will create a default event tracking tag in the same step. If you don’t have this default event tag installed or want to create a separate (more custom, based on your individual use case) then go ahead and simply create a new tag.
We navigate to the tag list and edit the existing event element.
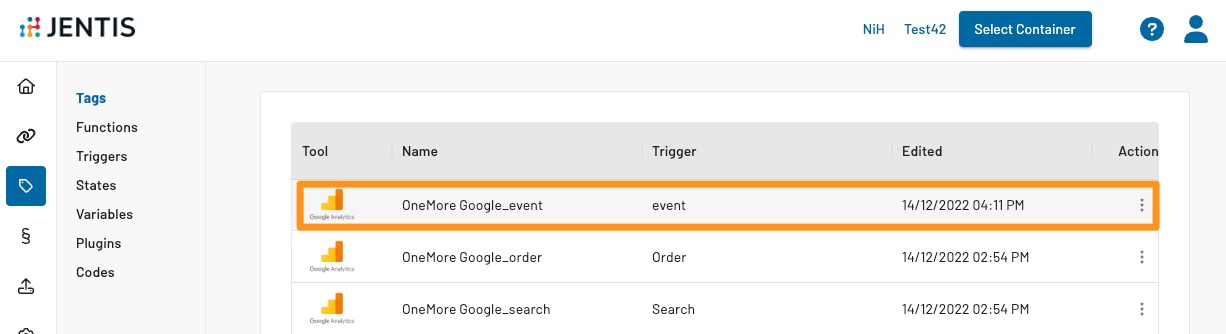
This is what the tag configuration should look like (either editing the existing event tag or creating a new one, if none exists yet that matches your use case). Here the mapping is defined and can be customized:
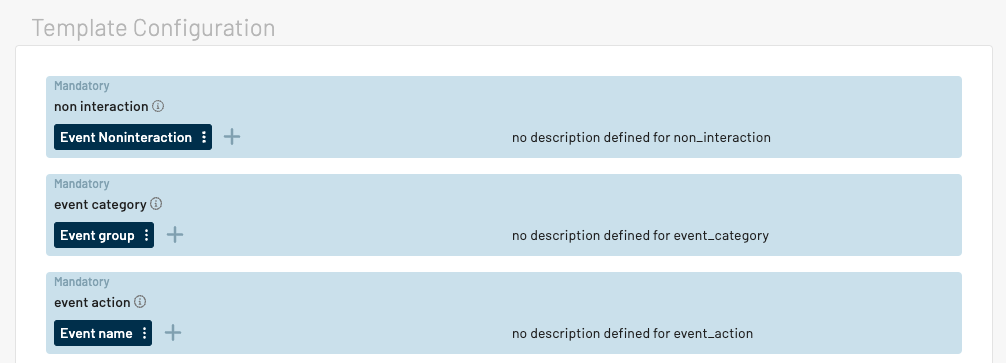
If required you can also check if the trigger should be customized. Default configurations will trigger every time a _jts.push({"track":"event",...}); syntax is used. If you have a different condition in mind (ie. the event group contains a certain string) then create a new trigger and use it with your tag.
Now every time the onClick function (_jts.push({"track":"event", ... }); ) will be called an according event will be tracked with Google Analytics.
The only steps left are to preview your new functionality and release it if everything is running as expected. Both steps can be accomplished in the “Publish” section of your JTM.