Tracking with a generic DataLayer
With the generic DataLayer (window.dataLayer) used on many sites, there is an easy connection to JENTIS. Within this guide, we will look into how to create that link.
Beware - there are alternatives to this approach that rely on no third-party dependency, and hence might be used in favor:
Process Outline
To get JENTIS Tag Manager to receive the events from your website’s DataLayer, we must create a JENTIS State. Next, we will also go ahead and make practical use of this. Creating an event in a tool: Google Analytics events based on events pushed to the DataLayer. The steps are:
connect JTM to the websites DataLayer
create variables that are connected to the DataLayer
create tags and triggers based on previous steps
Connecting to your Websites DataLayer
The first part is to get JENTIS to listen to the DataLayer on the website. We will make the integration in a fashion that will check all existing events in a window.dataLayer object and later react to all new pushes as the website is loaded and interacted with.
The configuration needs some conceptional decisions from you:
on which events to listen to: all events or just some special event names?
are those events case-sensitive?
what is the dataLayers name?
That should be easy to define. In our example, we will look for the “gtm.init” event, which is a case-sensitive definition. The DataLayer is named as in all default GTM installations: dataLayer.
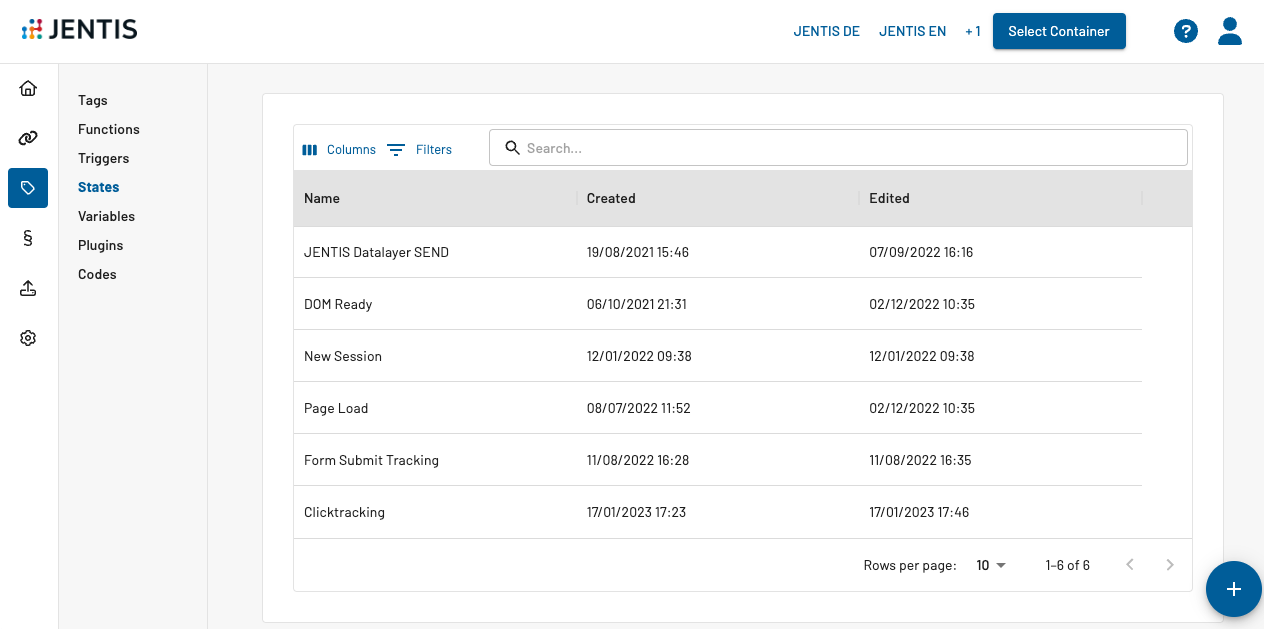
This is the code to be copy-pasted in a JENTIS State. Navigate for this setup to the “States” in you JTM account:
(navigate to Tag Manager: States and click on the “Add new State” button)
Paste the following code into the “Javascript Code” input box:
function(initState){
    //define events to listen to as single String values in array
    //keep empty to listen to all events
    var RELEVANT_EVENTS = ["gtm.init"];
    var IGNORE_CASE     = true;
    var DATALAYER_NAME  = "dataLayer";

    var dl = window[DATALAYER_NAME] || [];
    if(Array.isArray(dl) && dl.length && dl.length > 0) {
        dl.forEach(arrayItem => {
            initiateRelevantStates(arrayItem.event);
        })
    }

    var originalPush = dl.push;
    dl.push = function(args){
        originalPush.call(window[DATALAYER_NAME], args);
        initiateRelevantStates(args.event);
    }
    window[DATALAYER_NAME] = dl;

    function initiateRelevantStates(event_name){
        if(Array.isArray(RELEVANT_EVENTS) &&
           RELEVANT_EVENTS.length > 0 &&
           typeof event_name != "undefined"){

            if(IGNORE_CASE){
                event_name = event_name.toLowerCase();
                for(i = 0; i < RELEVANT_EVENTS.length; i++)
                    RELEVANT_EVENTS[i] = RELEVANT_EVENTS[i].toLowerCase();
        }
        if(RELEVANT_EVENTS.includes(event_name)){
            initState();
        } else {

        }
    } else if(typeof event_name != "undefined")
        initState();
    }
}
Now every time a “gtm.init” event is pushed to the DataLayer by the websites application a JENTIS State is created. Thus activating all triggers connected to this state and their conditions are checked. Which is exactly what should be configured next.
Create Variables, Triggers and Tags
Now to actually react to this new states in JENTIS tracking we must have the configuration that is activated based on our requirements. This requires the variables (values), triggers (conditions) and the actual “data to be transmitted”-configurations (tags). Here are those steps in detail.
Create Variables
Often when we activate states based on DataLayer-events we also want to read something from the same source (dataLayer). That is where we need to create a JTM variable that reads those values.
Navigate to the Variables section in your JTM and create a new element (click the “Add New Variable” button).
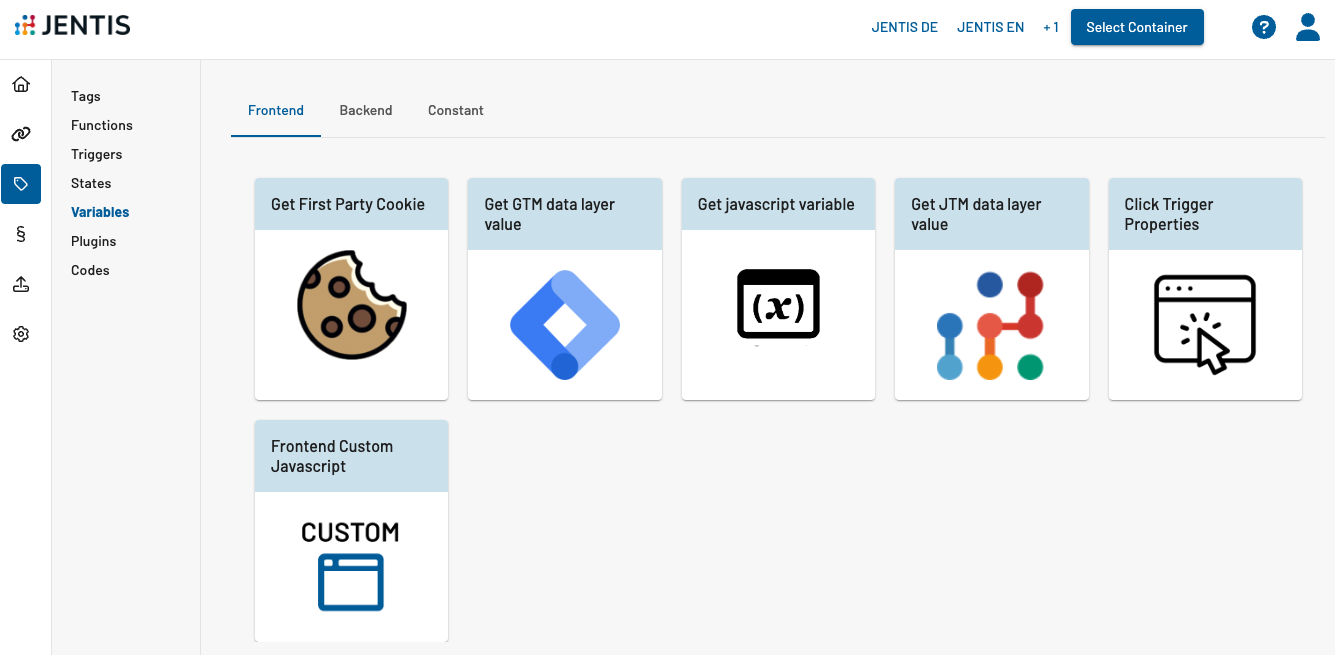
In this selection chose “GTM data layer value” as the variable template type.
The value to be read from the dataLayer is for example a parameter key “event_category”:
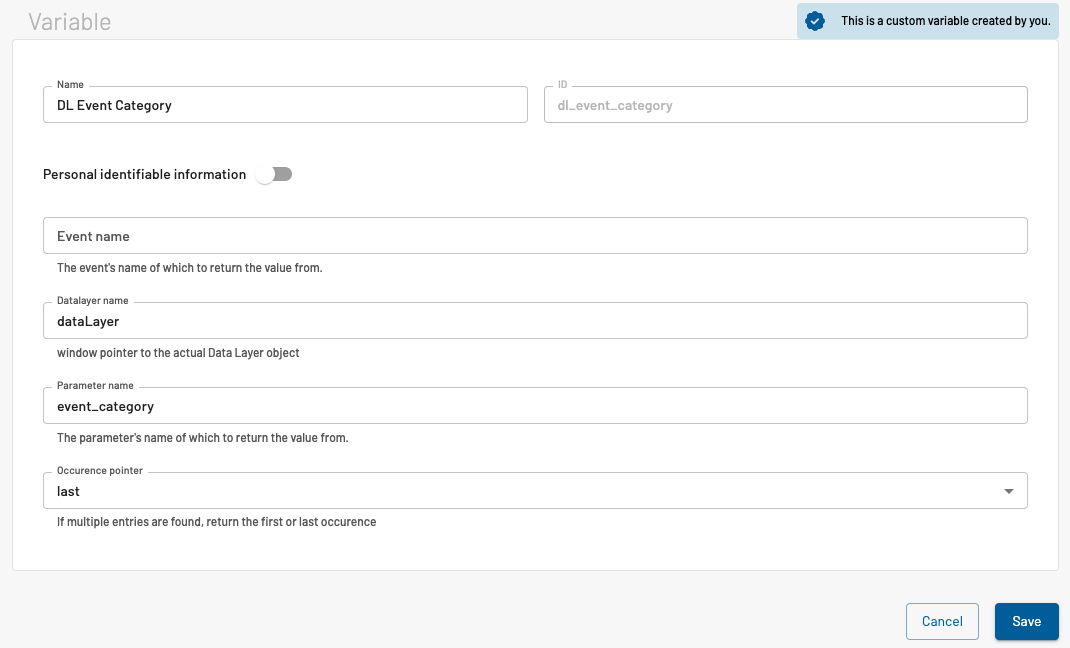
This will retrieve the value of “event_category” that was pushed to the dataLayer object accordingly in this example:
window.dataLayer.push({
  event:"gtm.init",
  event_category:"category_value"
});
This is just for the visual example. Our JTM variable would report the value “category_value” from this according dataLayer.push.
Create a Trigger
To actually activate a tag in JTM a trigger is mandatory. So with our new data-route we created so far (listening to DataLayer-events) we must next put in the conditions.
(navigate to the Server Tag Manager: Trigger section and create a new object clicking the “+”-icon)
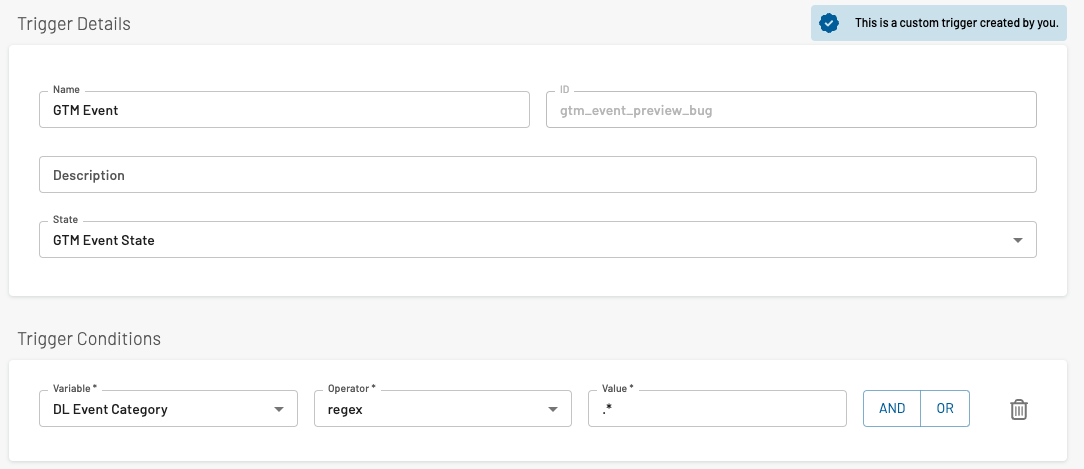
In the trigger configuration you must select the JENTIS State we previously created. Also add a condition if required, ie. looking for a value that is defined in the previously created variable “Event Category”.
Create a Tag
The final step in this process is now to create a tag. That will be activated when the previous triggers condition are met and that is based on the DataLayer events. So it is activated when the according dataLayer push appears and the triggers condition are met.
In that tag we should also go ahead and use the variable “Event Category” to put it to use.
Navigate to the Server Tag Manager: Tags and create a new element clicking on the “+”-Icon.
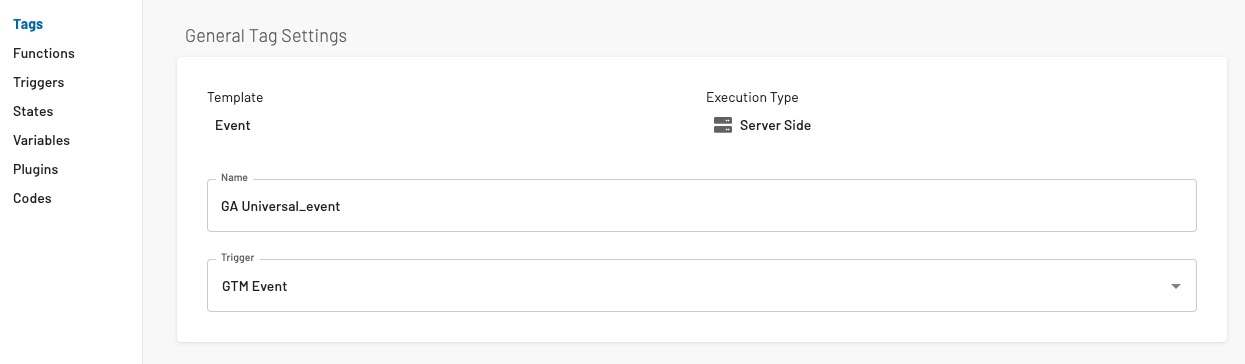
In our example we will use a Google Analytics tag with this configuration:
select the Tool from your JTM account (Google Analytics)
select a template: Event
select a trigger: the previously created trigger that is connected to our JENTIS State
Now also make sure to reference all variables that your tag will need, for example the one we created in the previous step “Event Category”. Put it in the according tag in place.
That is all from the configuration and the next step is to preview and publish your new settings.