Plesk Configuration Guide

Introduction
This guide explains how to configure reverse proxy capabilities in your plesk setup. A reverse proxy acts as an intermediary for requests from clients, forwarding them to a designated backend server. This setup enhances load balancing, security, and caching capabilities.
Prerequisites
Admin Access to your plesk installation
Your Website running on plesk
Configuration Steps
Step 1 - Sign in into your plesk setup:

Step 2 - Configure the directive:
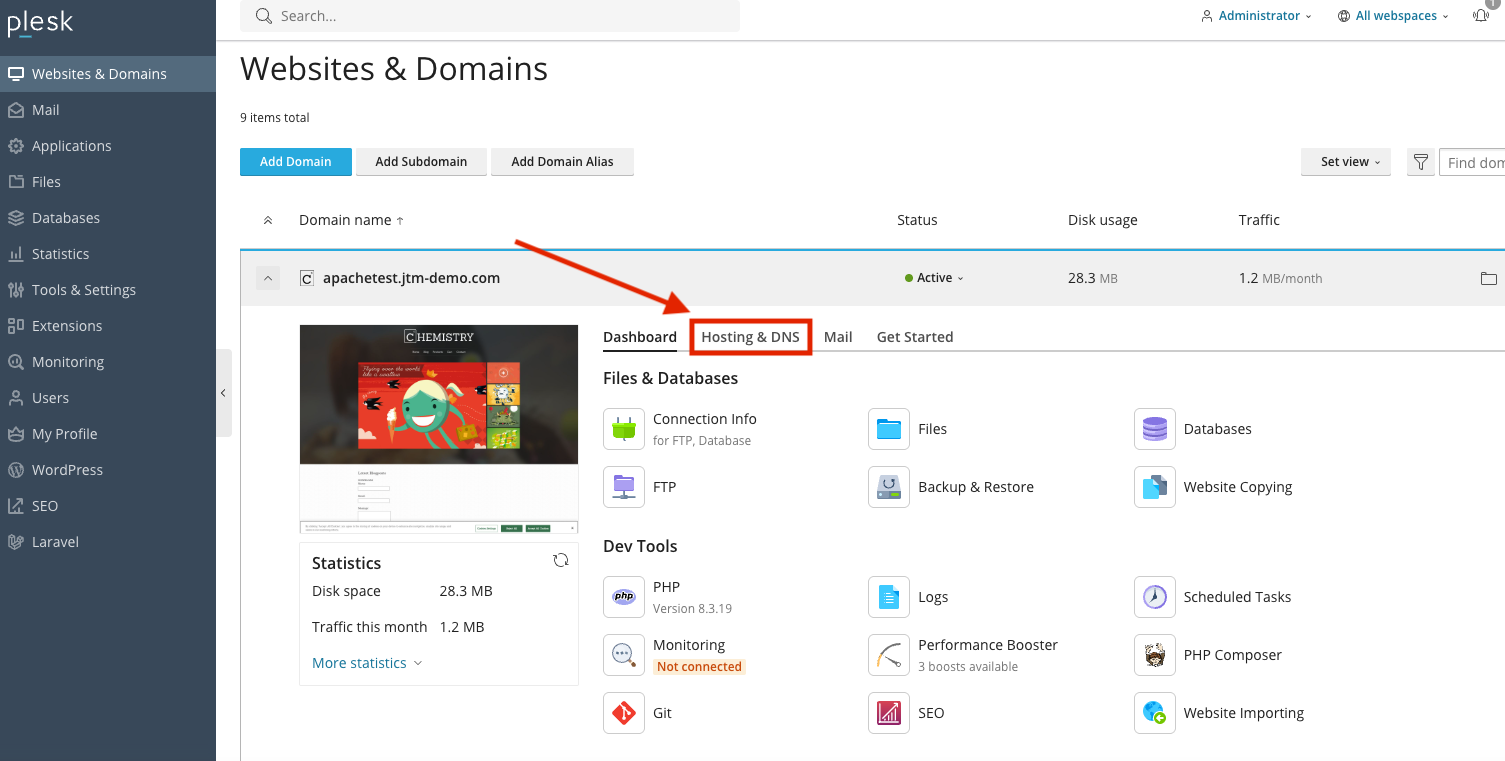
After logging in - click on Hosting&DNS
- Under the point “Additional nginx directives” add the location from /hash(the first part of the tracking URL) and add the proxy_pass directive to the JENTIS tracking URL
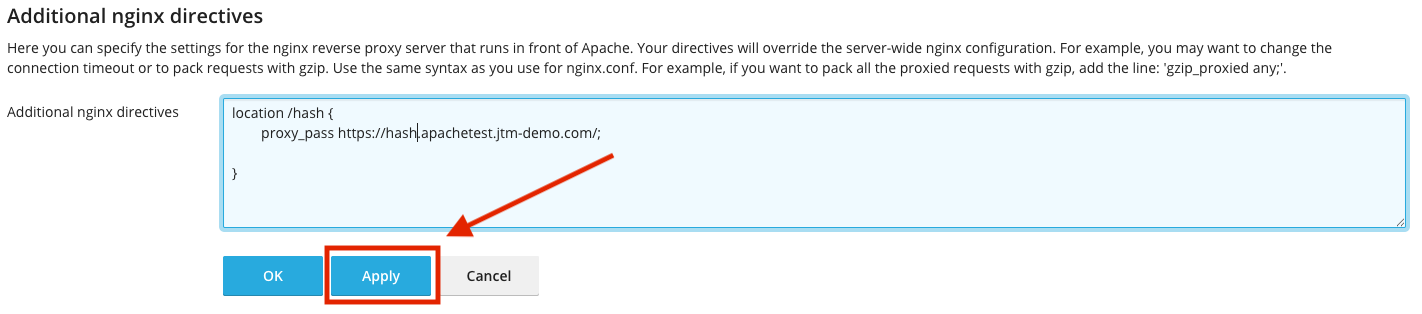
location /hash - this directive proxies everything coming to the /hash path to the URL of the jentis cluster.
Step 3: Save and apply
After applying the directives, the webserver will restart and activate the new configuration.
Conclusion
Your Plesk should now act as a reverse proxy and forward all request to /hash to your tracking domain.
If you have any questions or feedback, please open a request on our Helpdesk.