Custom Data Layer Definitions
As the JENTIS Data Layer is a flexible and scalable solution it can be customized to your needs. Regardless if it is a certain event that is not yet defined in our default or a property with a default call, you can decide where properties can or should be attached with your website.
After a definition is done and implemented, make sure to also create the according configuration in your JENTIS Tag Mager by creating a variable and start using it. Check out the guide below.
Extending Default Data Layer Calls
With any data push that is already a default with JENTIS, you can always extend the properties of a tracked document.
For example if you track a pageview and a product (viewing an item) you can use the following customization to extend the properties of both.
_jts.push({
  "track"   : "pageview",
  "pagetype": "productdetailpage"
})
_jts.push({
    "track" : "product",
    "type"  : "productview",
    "id"    : "12345567",
    "name"  : "jentis tshirt",
    "origin": "24"
});
_jts.push({
    "track" : "productview"
});
_jts.push({
	"track" : "submit"
});
With this example we introduced two custom properties, that are not part of the according default data model (of pageview and product):
pageview: pagetype
produt: origin
Important takeaways here are:
each property is submitted with a document (defined by “track:…”, essentially this determines that each of the properties, as submitted with this push call, are attributes of exactly this object provided with the push function call)
reserved keys for property names are “track” and “type”, please make sure to not use this names in any customization
Creating Custom Documents
You can also create your own documents with according push function calls.
Let’s run an example where we track “reservations” on our hotel booking website.
_jts.push({
  "track"   : "reservation",
  "hotel"   : "my hotel"
})

_jts.push({
	"track" : "submit"
});
This creates a new type of event object (document) with our data model. You can extend this freely with your own properties and names.
Please make sure to check the default properties of our data model, described in this documentation JENTIS Data Layer - Data Model Reference .
Accessing Custom Properties
Now that you implemented custom definitions with your websites data layer, let’s look into how to actually access the values and take actions based on them.
For that the first step is to create a new variable, which will read a properties value. Navigate to your JENTIS Tag Manager “Variables” section and create a new variable.
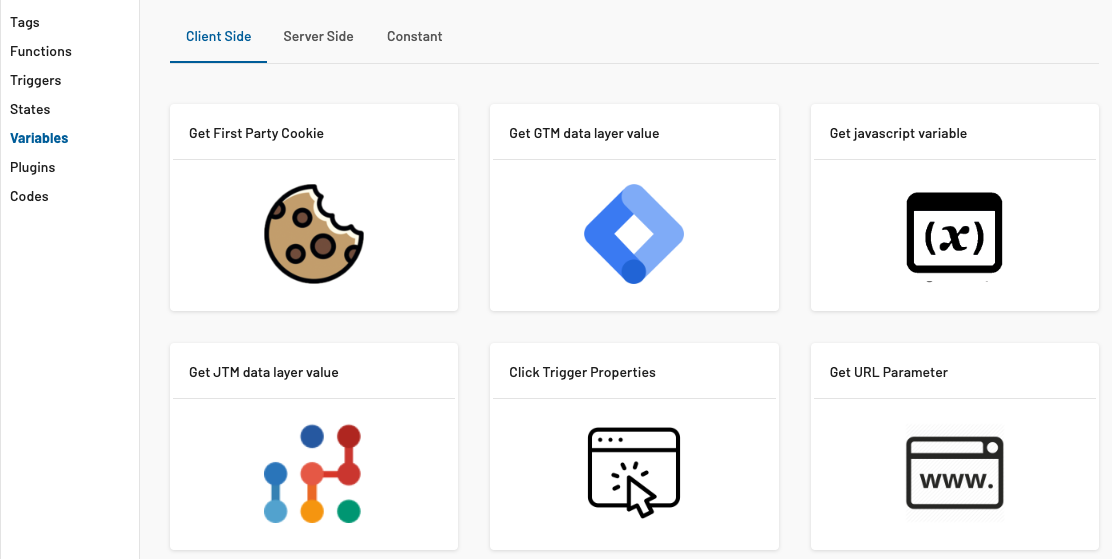
Select the “Get JTM data layer value” type variable to access the properties you defined.
On the following screen we will take a reference to our three examples above. There we defined the following custom properties on the according documents:
pageview:
pagetype
product
origin
reservation
hotel
Both elements are crucial when creating the JENTIS Data Layer variable: document and property.
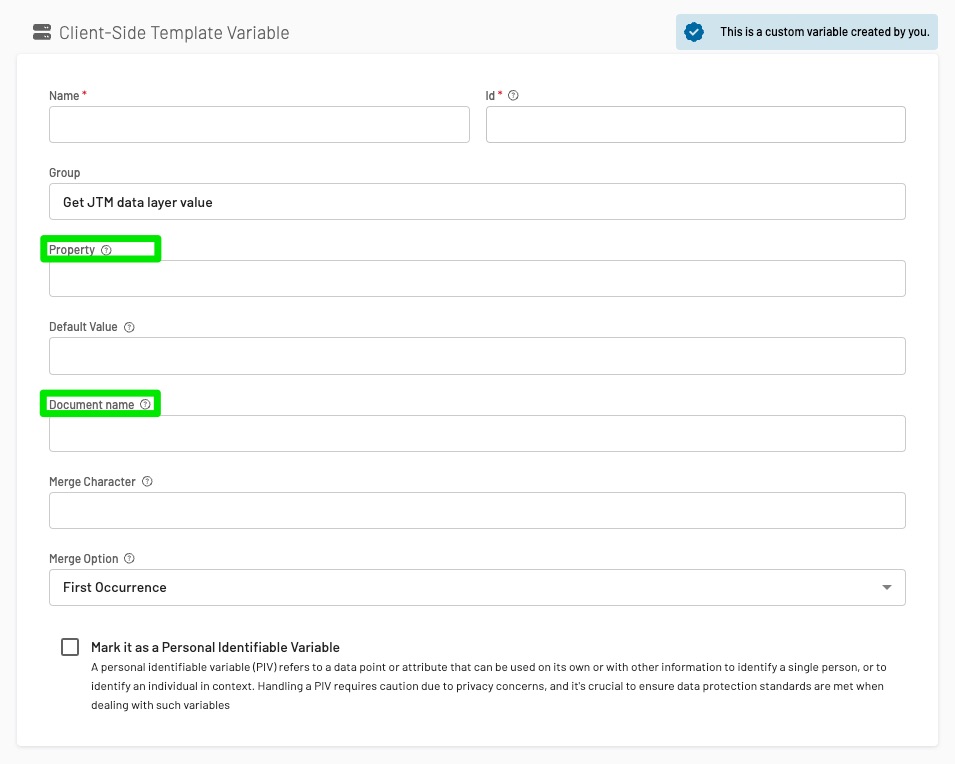
In the screenshot you’ll find both things highlighted: document (ie. “pageview”, “product”, “reservation”) and property (“pagetype”, “origin” or “hotel”).
With that variable created you can now utilize it with a tag or trigger. All set to take action on your data!