How to create new containers
What is the Problem?
I want to create a new container in my JENTIS DCP.
To create a new container in JENTIS, you need to follow specific steps and provide essential information. The process involves setting up the container inside your JENTIS Userinterface and implementing the necessary tracking code and DNS entry.
What is the Solution?
Follow these steps to create a new container in JENTIS:
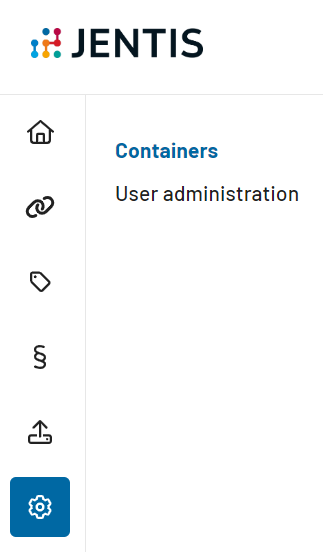
Navigate to “Settings” and then the “Containers” menu point:
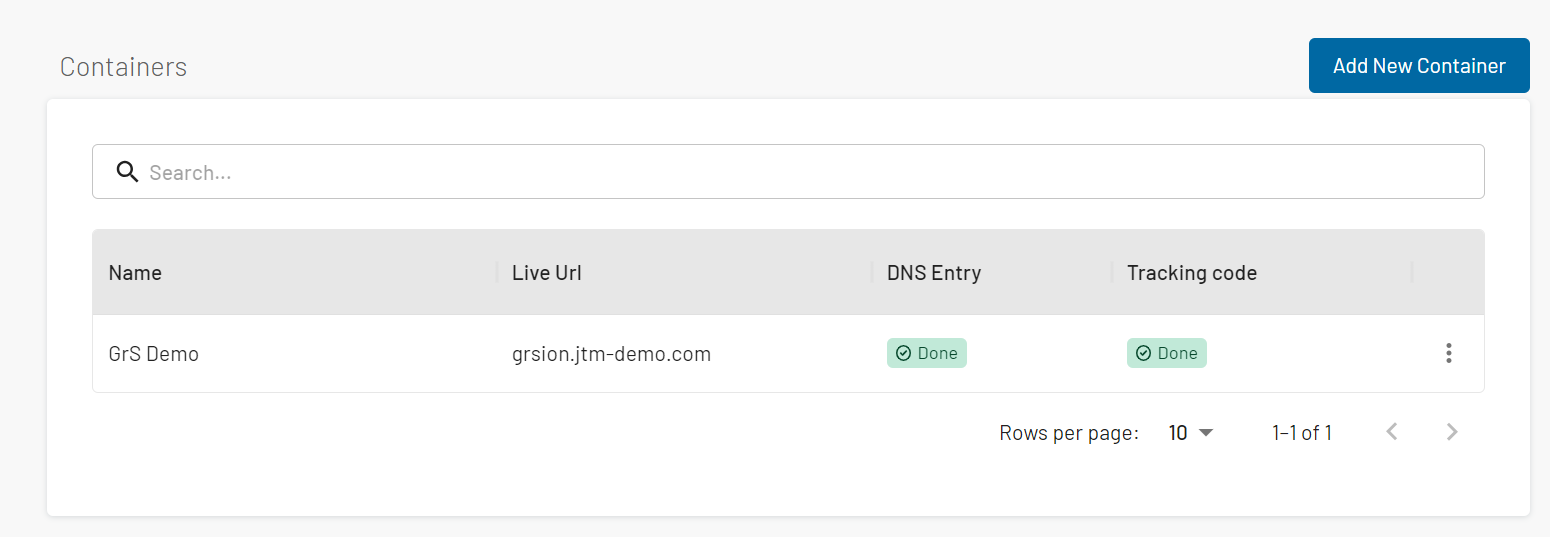
Here you will see a list of the containers that you already have. To add a new one, simply click on the “Add New Container” button in the top right corner, and select “Assistant mode”.
Here, you will be asked to provide three pieces of information:
Domain name
Preview Domain name
Container name
For the Domain and the Preview Domain name, please make sure to remove the protocol, and the www from the start of the URL, and remove any trailing “/” character. An example would be: “https://www.example.com/” should become “example.com”
The domain name should be the domain where you are planning to implement the tracking, and the preview domain name should be where you want to test your changes. Often times the two are the same, but you may choose to use a staging/testing environment for this purpose.
The name of the container should be something descriptive, but usually, the same URL should work that you are using as the Domain name.
If you are done with this step, click on the “Next” button in the bottom right corner, where you will be provided with the tracking code that you need to implement on your website. Note, that if you are using a separate domain for testing, on that domain, you need to implement a separate tracking code, which you can see if you change the value of the “Environment” dropdown to “stage”:
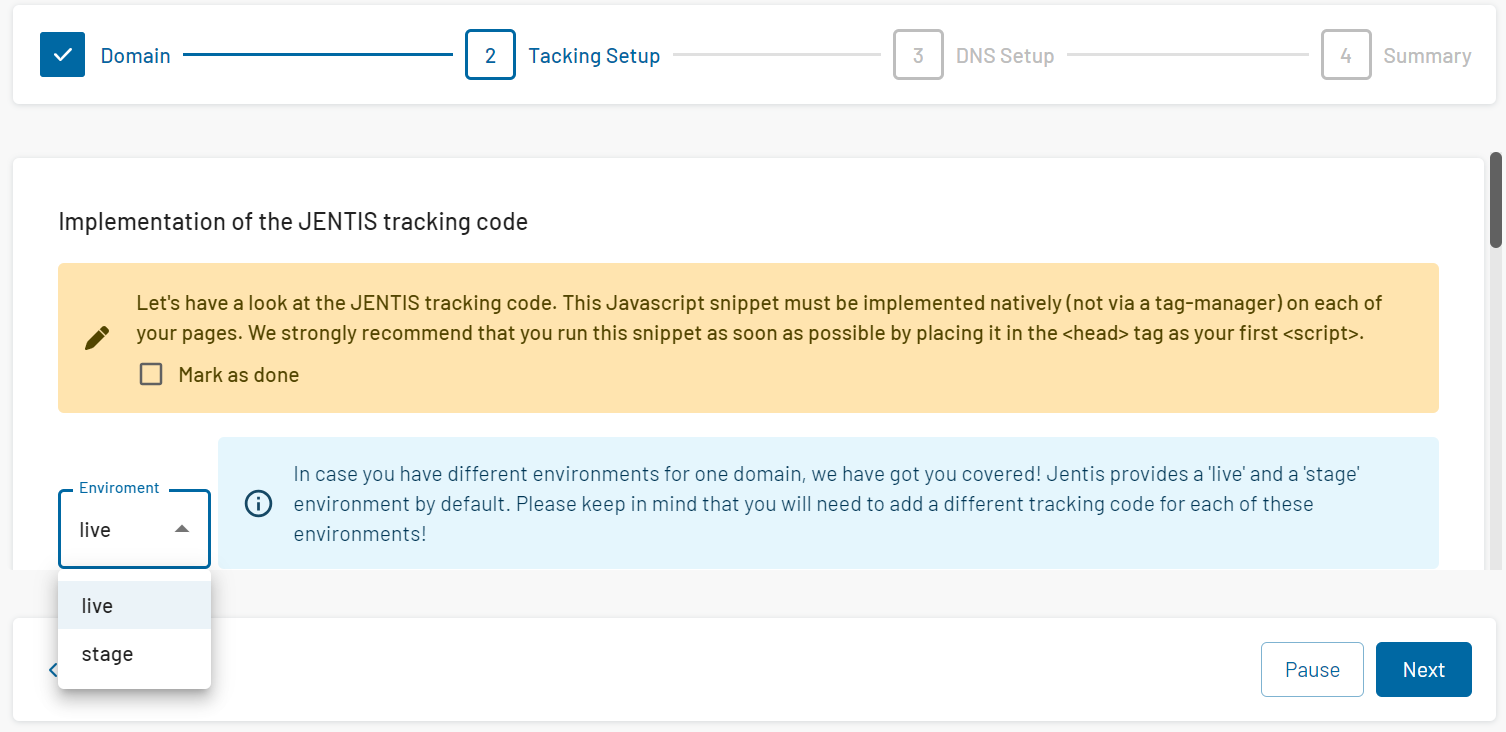
Please implement the tracking code(s) on your website, and mark them as done when the step is completed.
The next step is to implement an A record based on the information you see on the next page:

Please note, that this is an example screenshot, and the exact information that you need to implement will be in your DCP. When you are done with this step, please mark it as done.
An important part is that after the A-record is set, JENTIS needs to create a certification until this step can be considered completely finished. This happens automatically, as our system will periodically check if the A record is set, and if it is, then the certificate will be automatically issued from us. This may take some time.
In the last step, you will see a summary of the previous steps. When finished, simply click on “Create Container” in the bottom right corner.
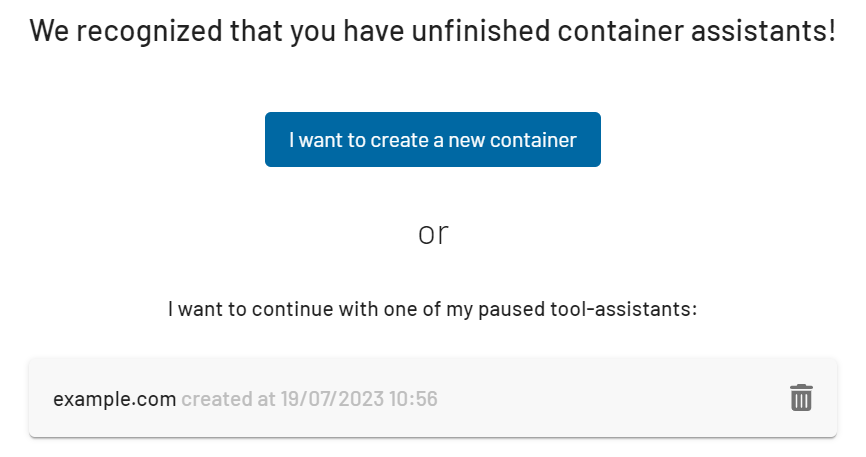
If at any time you want to pause the container creation process, click on the “Pause” button in the bottom right corner. To return to a paused process, simply start following the first steps in this guide, and after selecting “Assistant Mode” you will be greeted with a screen where you select your previous Assistant:
When you are finished with the process, you will see your new container in the container list like this:
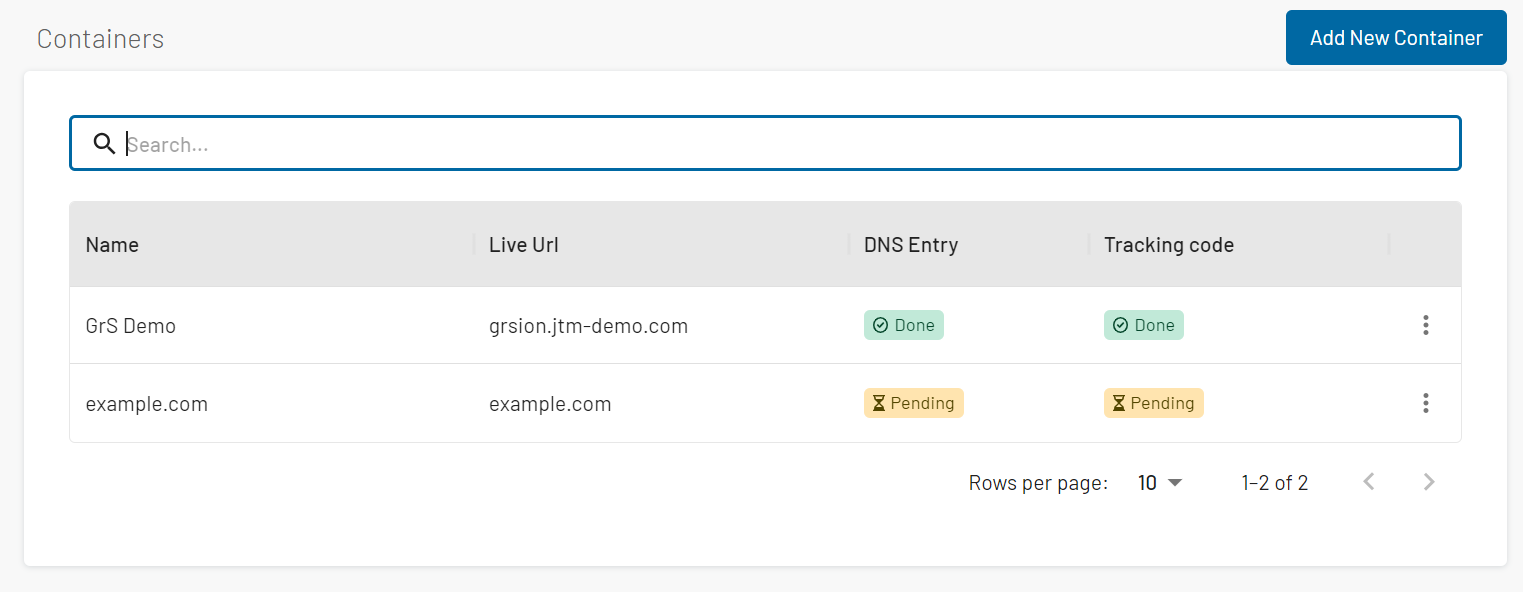
If you finished the container creation process, but haven’t implemented the DNS entry or the tracking code yet, you can still check all the information here from the container list.
Summary:
Creating a new container in JENTIS involves several steps, starting with accessing the "Settings" and "Containers" menu. In "Assistant Mode," provide the necessary container information, such as Domain Name, Preview Domain Name, and Container Name. Proceed through the steps to receive the tracking code and implement it on your website. Additionally, set up the DNS-A-record based on the provided information from your DCP. Once the A-record is set, JENTIS will automatically issue a certificate for your subdomain using Let’s Encrypt. After reviewing the summary, click "Create Container" to finish the process. If needed, you can pause or resume the container creation process at any time. Once completed, you will see your new container listed in the container list, allowing you to access all the information related to it.
